The Christmas Wreath has been around since the 16th century(probably longer). It brings holiday cheer and a welcoming feeling to your home. In fact many hang wreaths, with bells attached on their doors, which lets the homeowner know when company has come to celebrate. Over the years there has been many, many versions of this Holiday Tradition. There are big ones, little ones, ones made of evergreen trees, or cedar, ones made of fabric or tin or plastic. Some have berries, some have bows, some even have birds or candy. Usually they are green and red but really they can be all the different colours of the rainbow. The only way our wreath differs from all these other ones is that ours can be made from left over recycled material found around your house. Upcycled crafts are a favourite of our programs because it help us to keep our costs down and helps to keep items out of the landfill. All you will need is a cardboard box, some construction paper or even paint, and left over Christmas cards, wrapping paper and bows. To be honest this isn’t just a Christmas craft you could make one for each season but because its the holiday season we shall focus on Christmas and because out of all the donated items we receive to make crafts with Christmas Cards and wrapping paper seem to be the one thing we get in abundance.
Materials:

- Cardboard circle
- coloured paper or paints
- old Christmas cards
- bows
- glue
Directions:
You will need to cut out a carboard circle from either one of the may delivery boxes we all get nowadays or even a cereal box can work. Then cut out the centre of your circle. Traced two bowls(one large then one small for the centre) in order to get our circles the right size. The size of your wreath depends on the size of your box but generally they are about 12inches across.
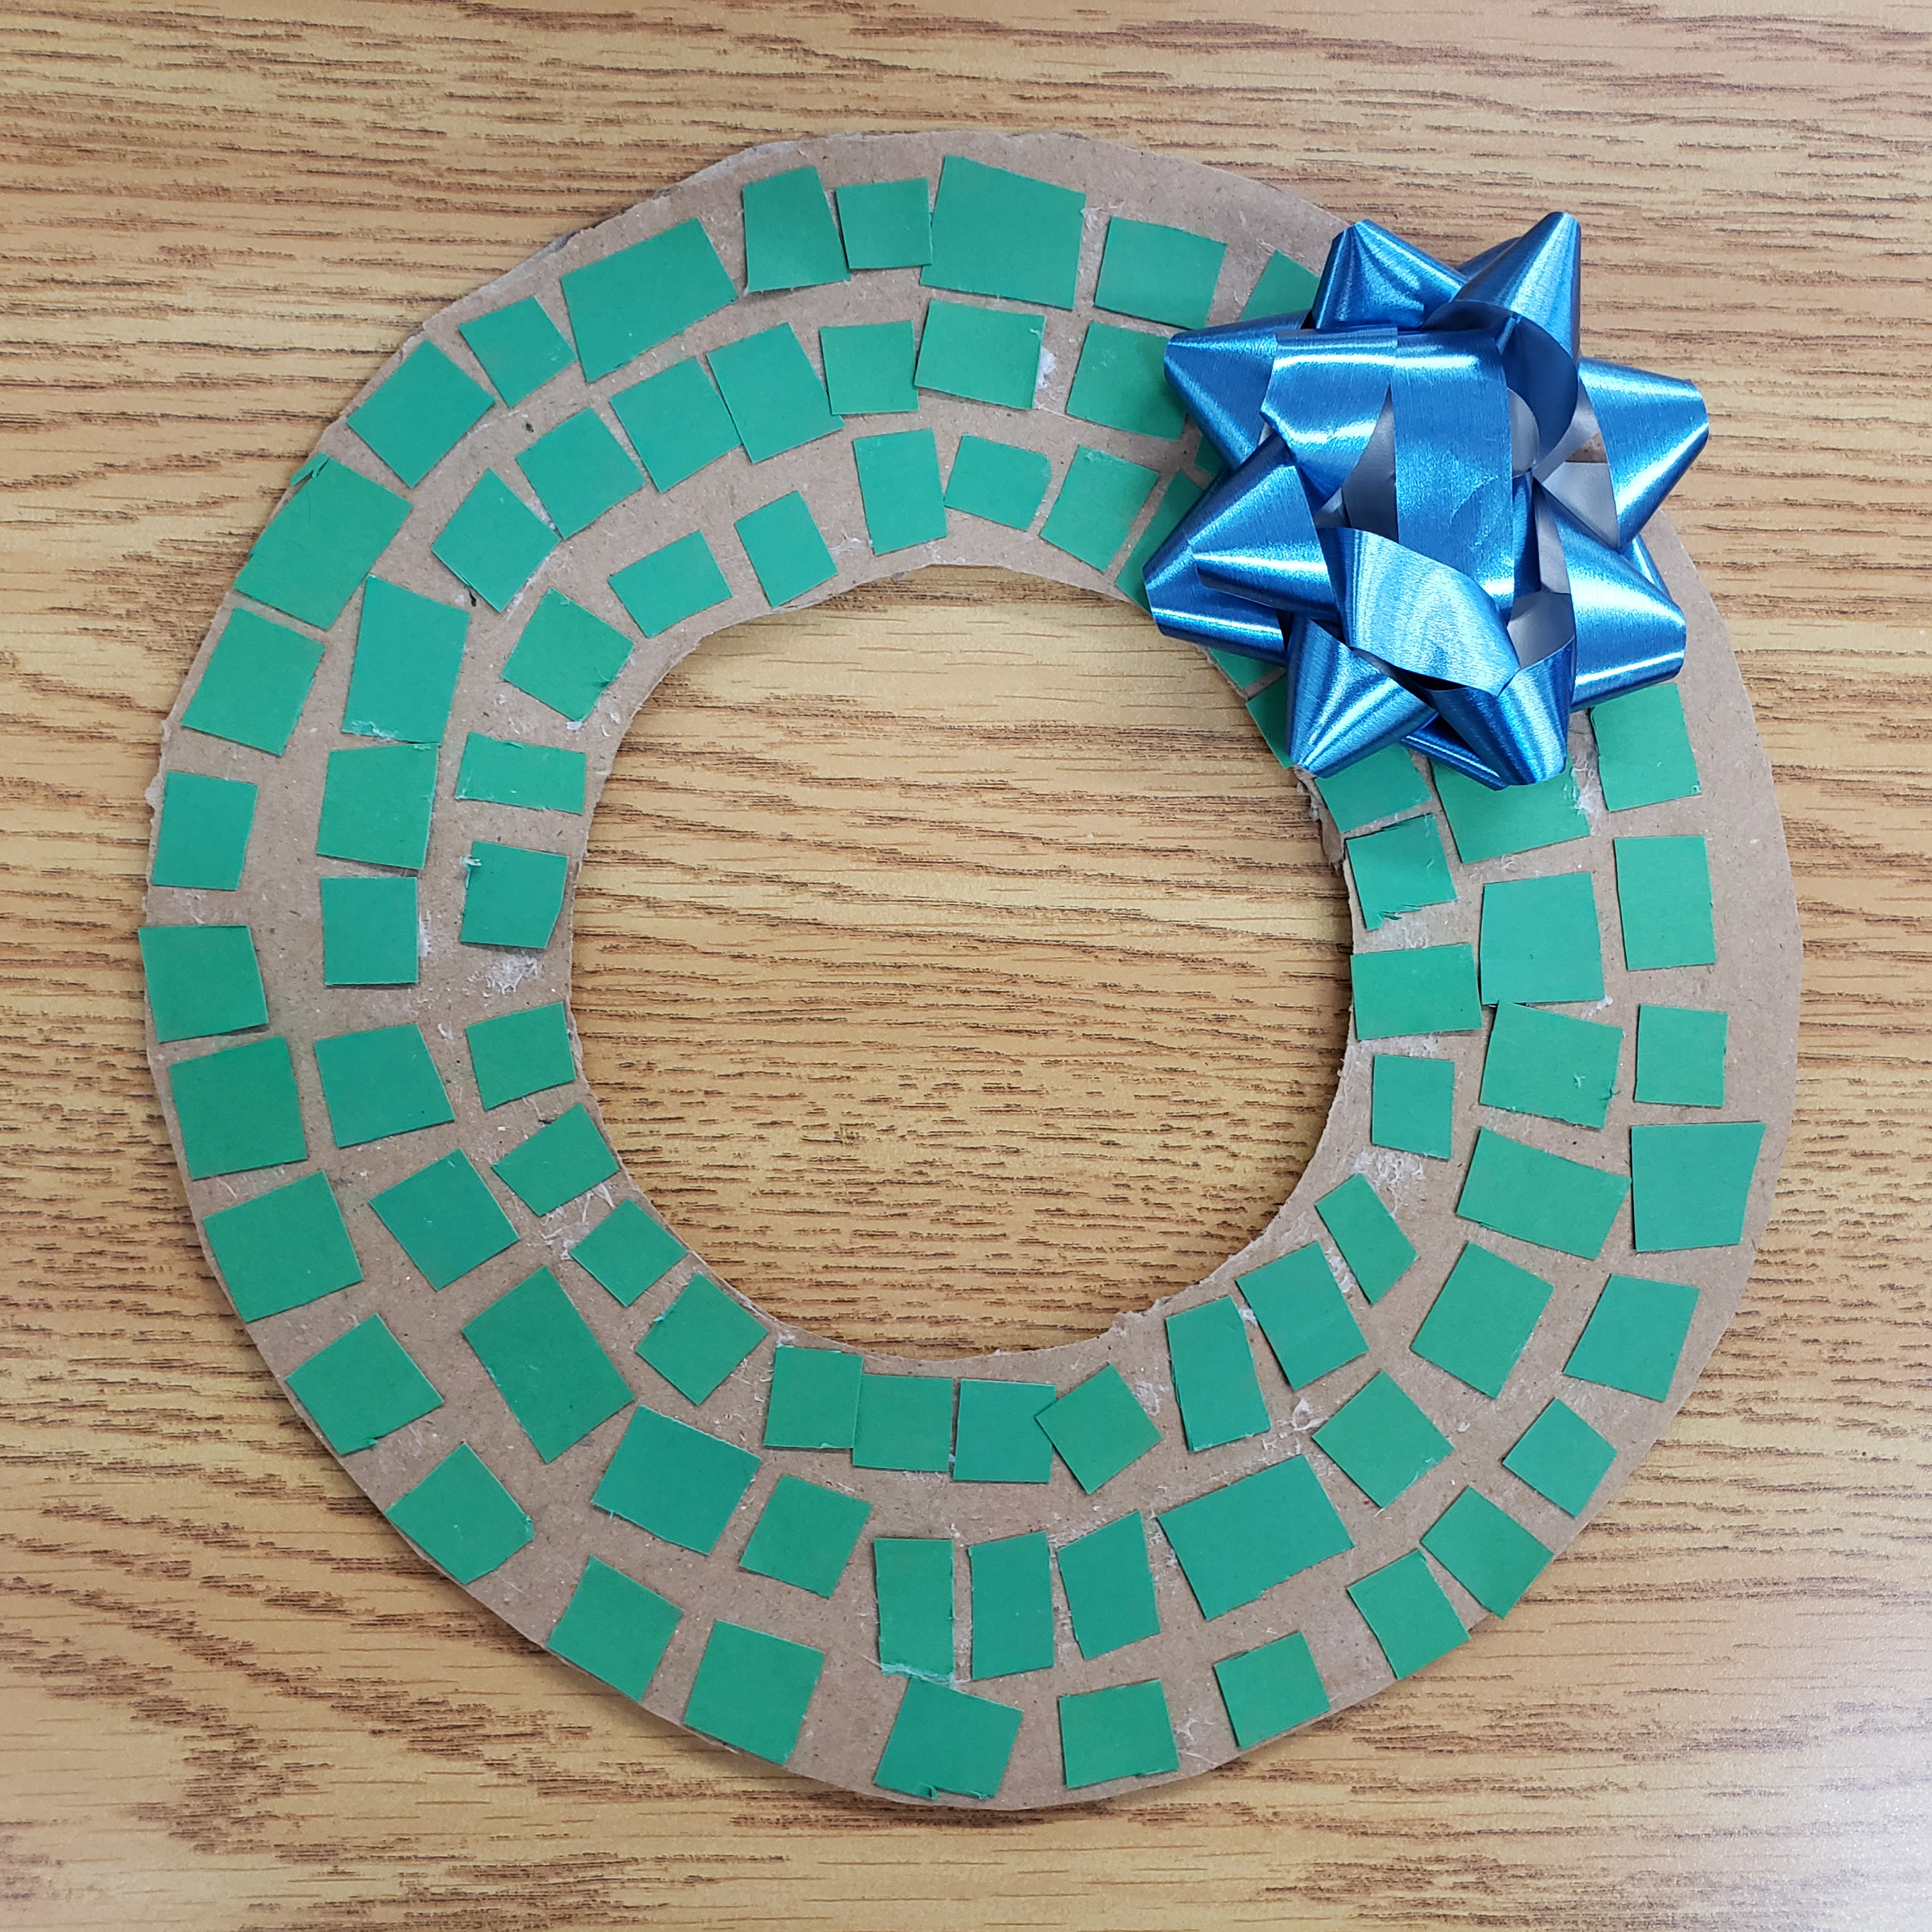
Once your circle is complete you will cut your coloured paper into strips then into squares so the wreath has a mosaic look. We choose green as we are making a more traditional wreath but you can choose whatever colour or colours for the base of your wreath. This is actually a great way to us up all those small bits of paper you might have laying around.
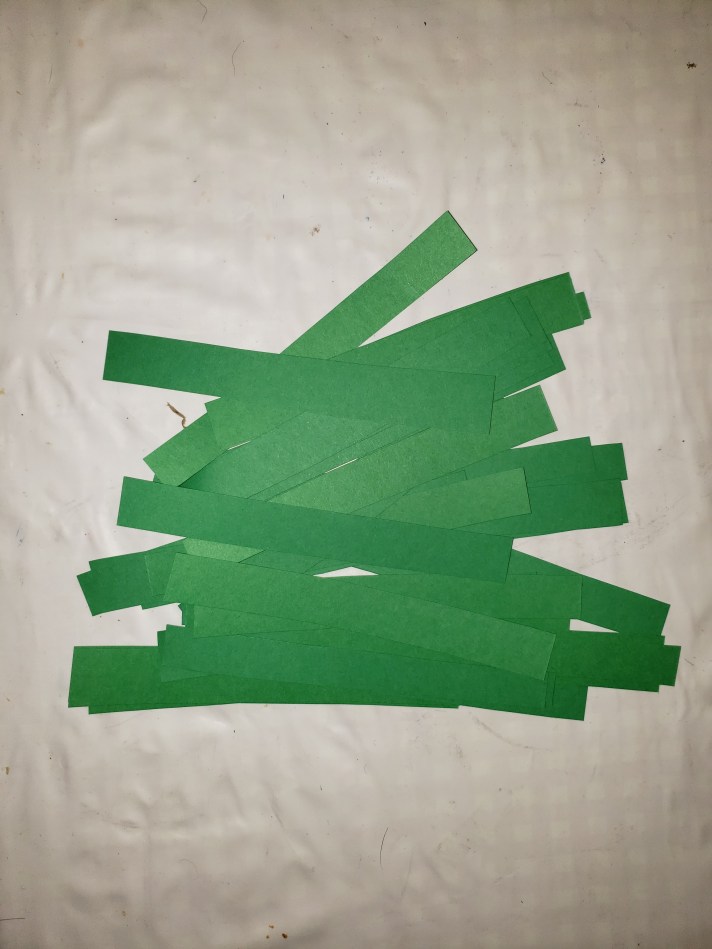
Our strips of Green construction paper

Our squares of green construction paper
Spread some glue onto your circle and cover it with the squares. The squares might curl up, so be sure to press and hold then down till they set. Make sure to cover the entire cardboard circle, by gluing squares on top of each other if necessary, to hide all of the cardboard. That what we did but if you are feeling another way to add your squares don’t let our instructions stop you.

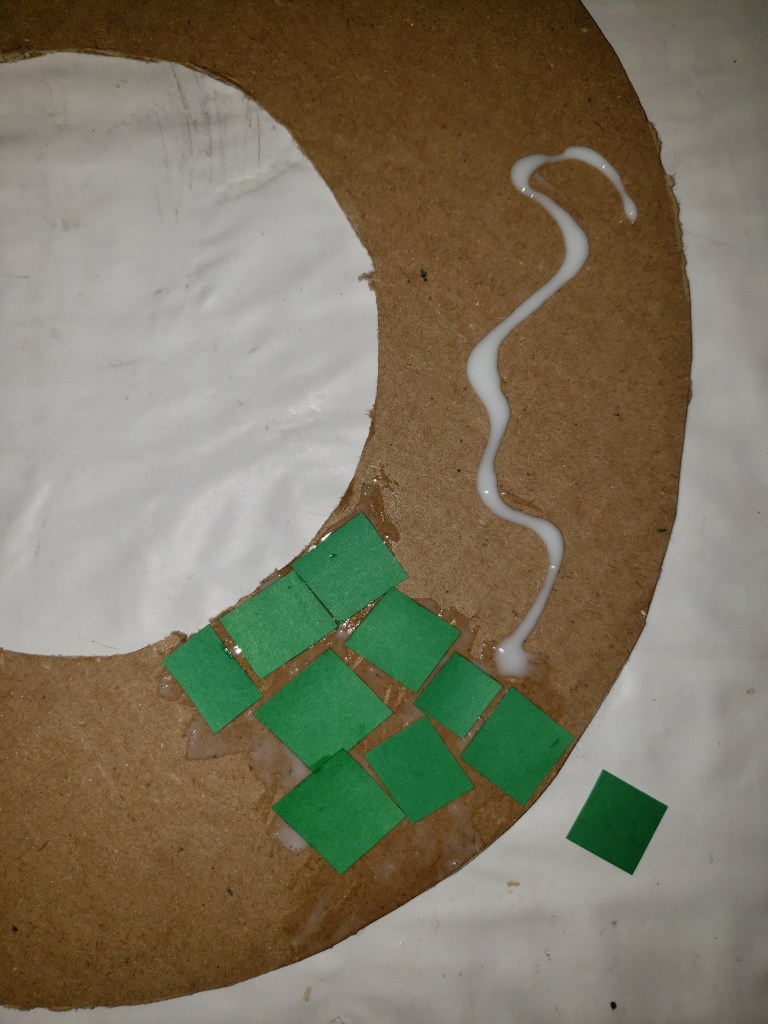

This was after our first layer.
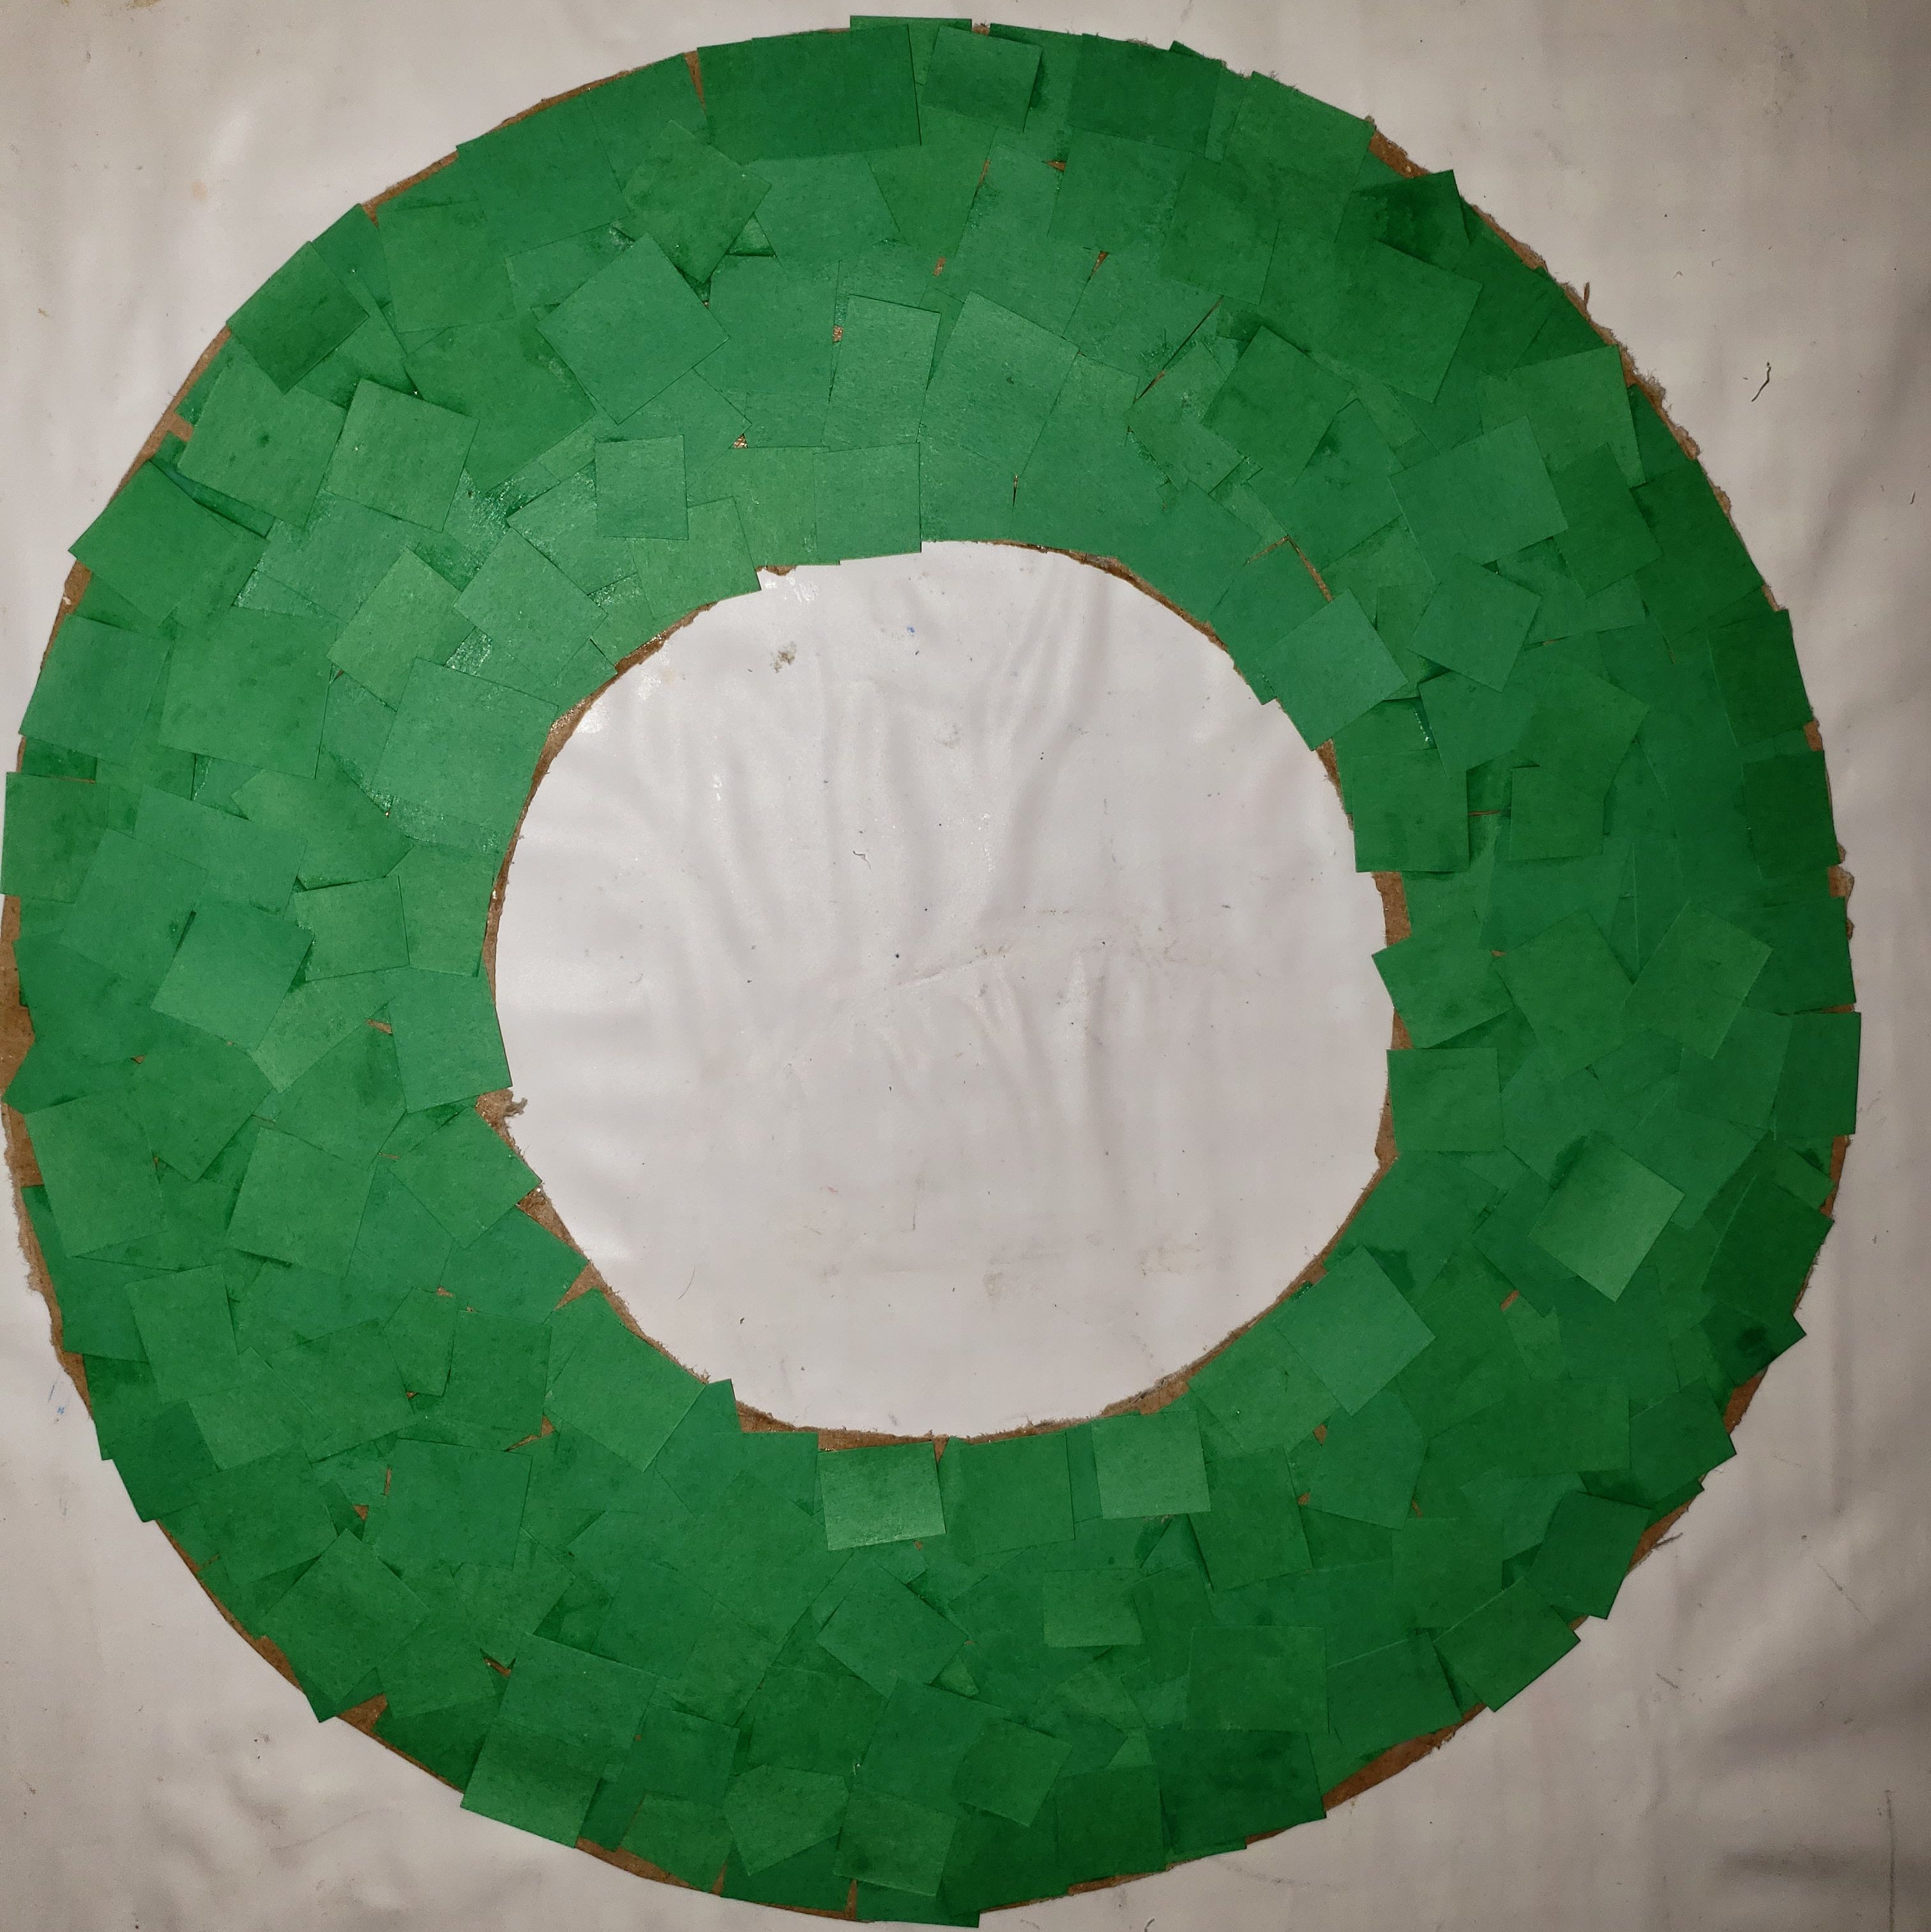
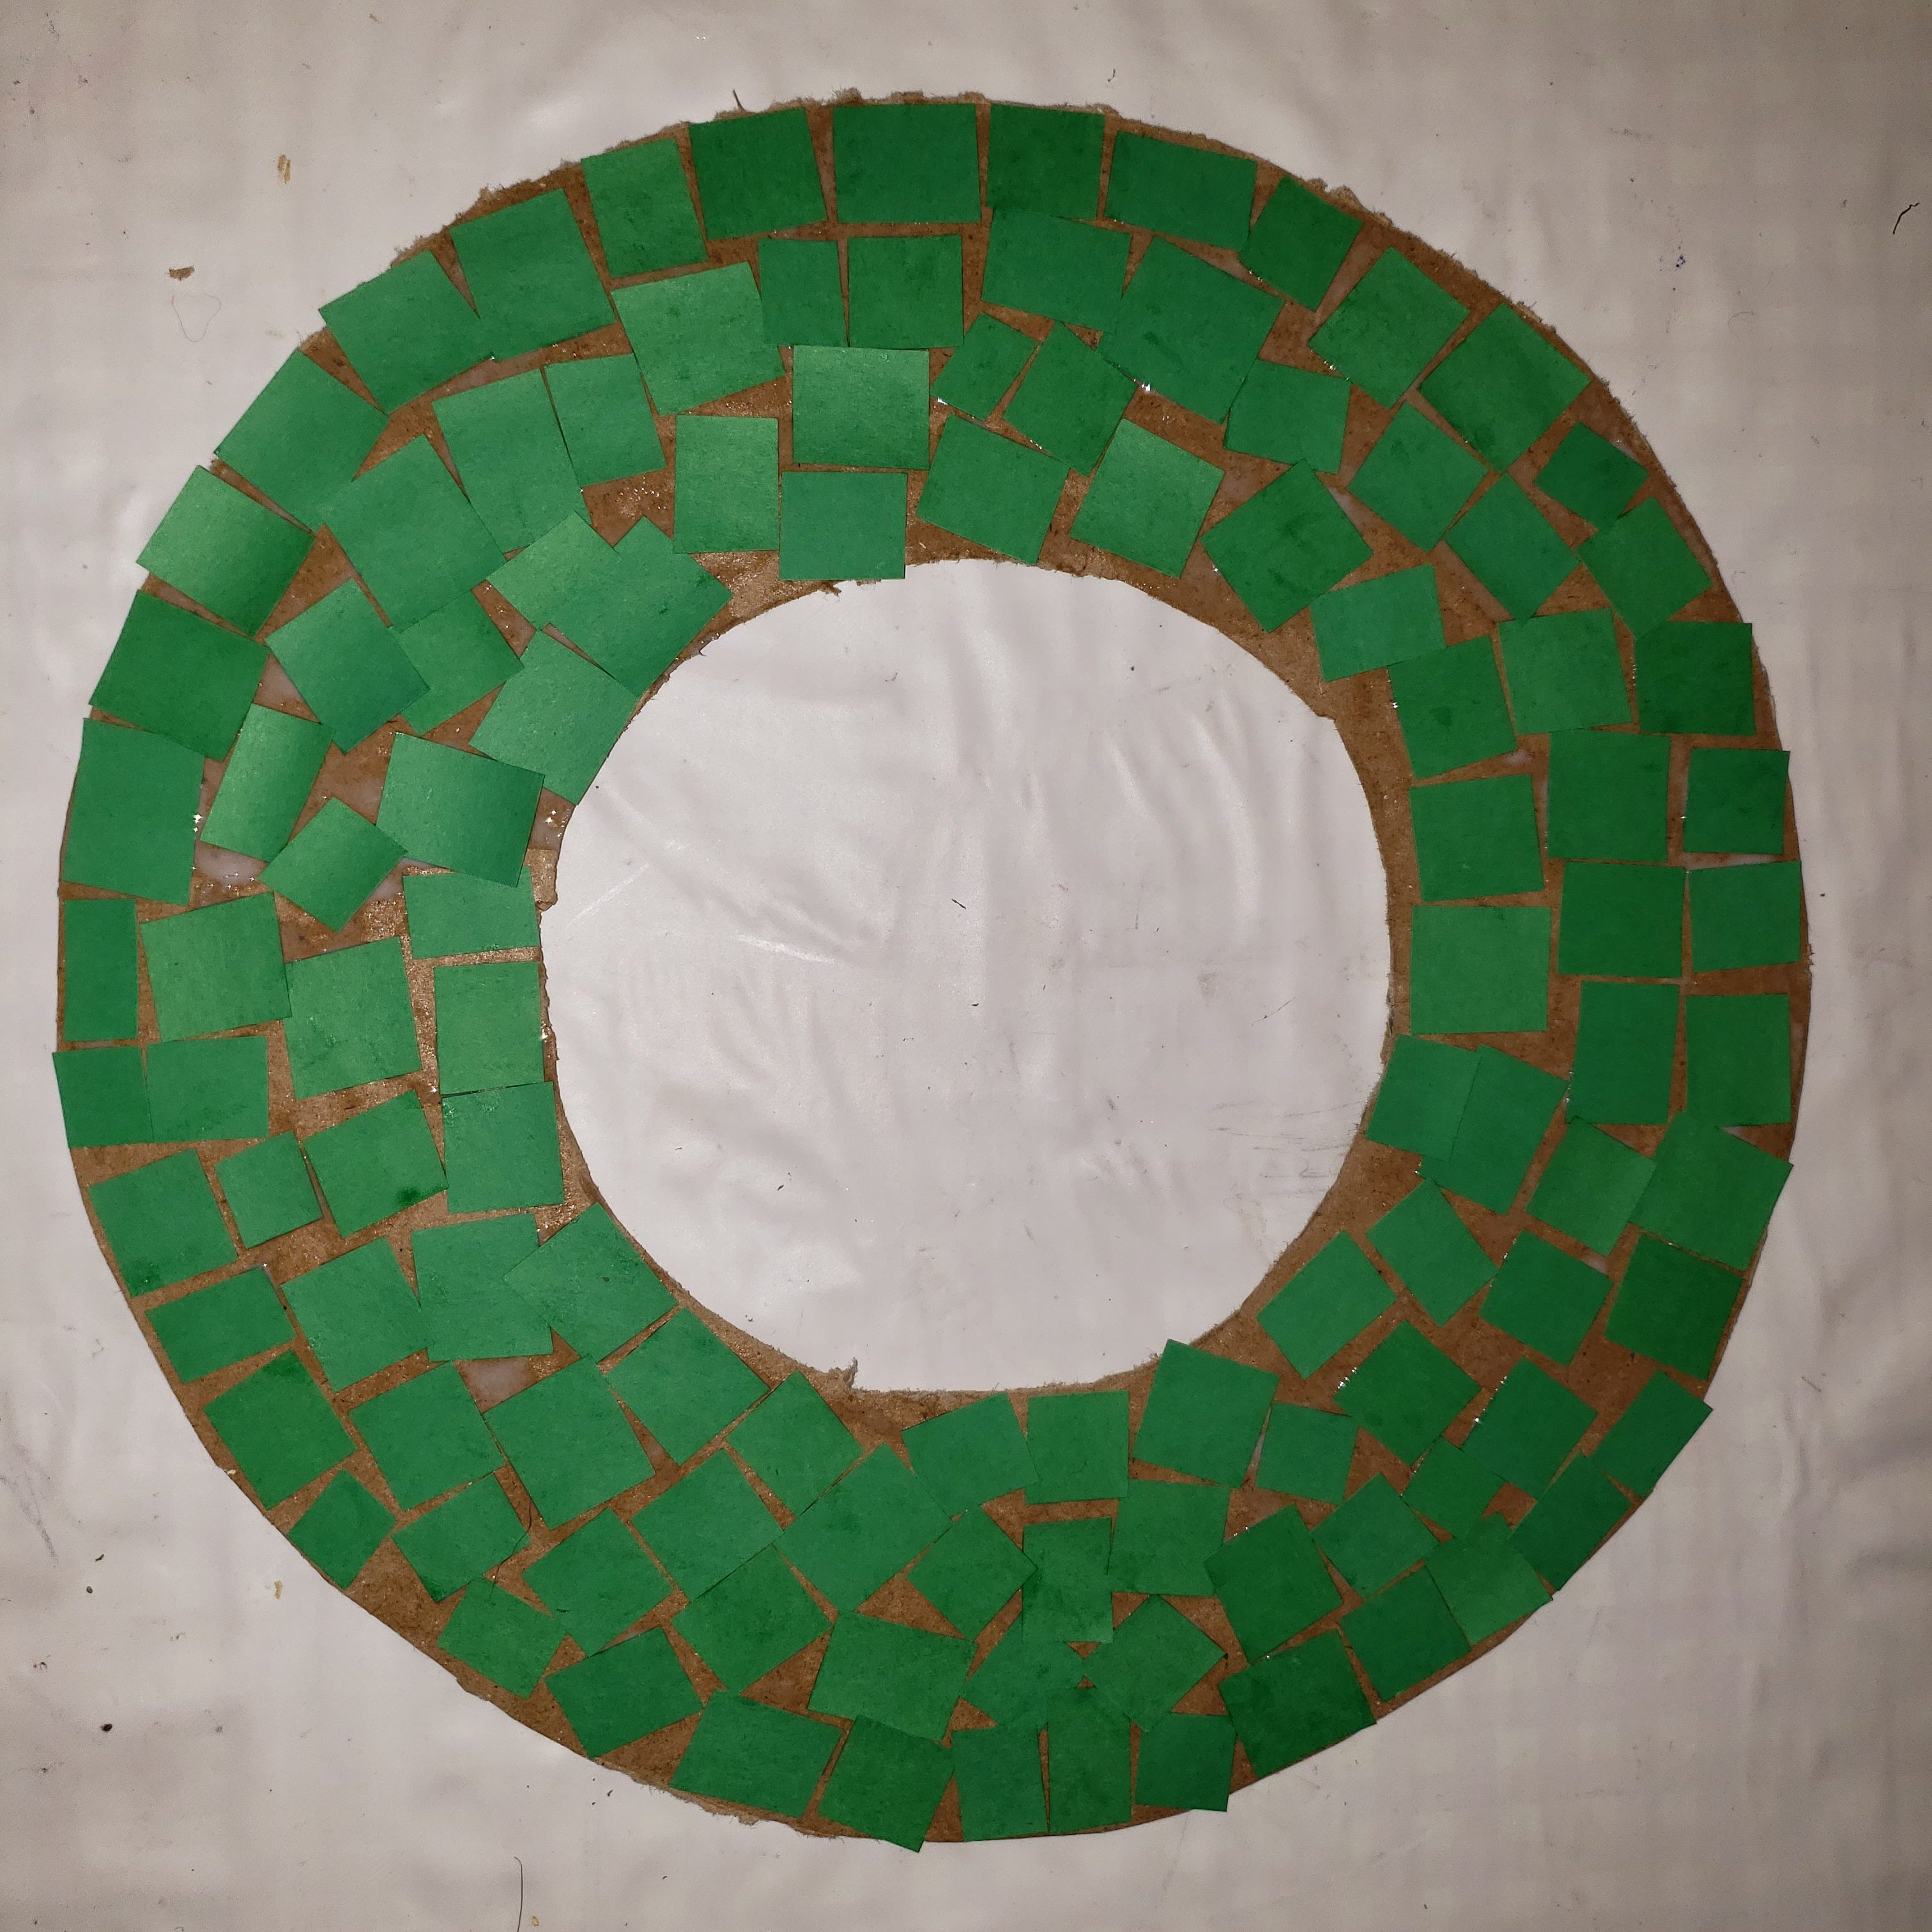
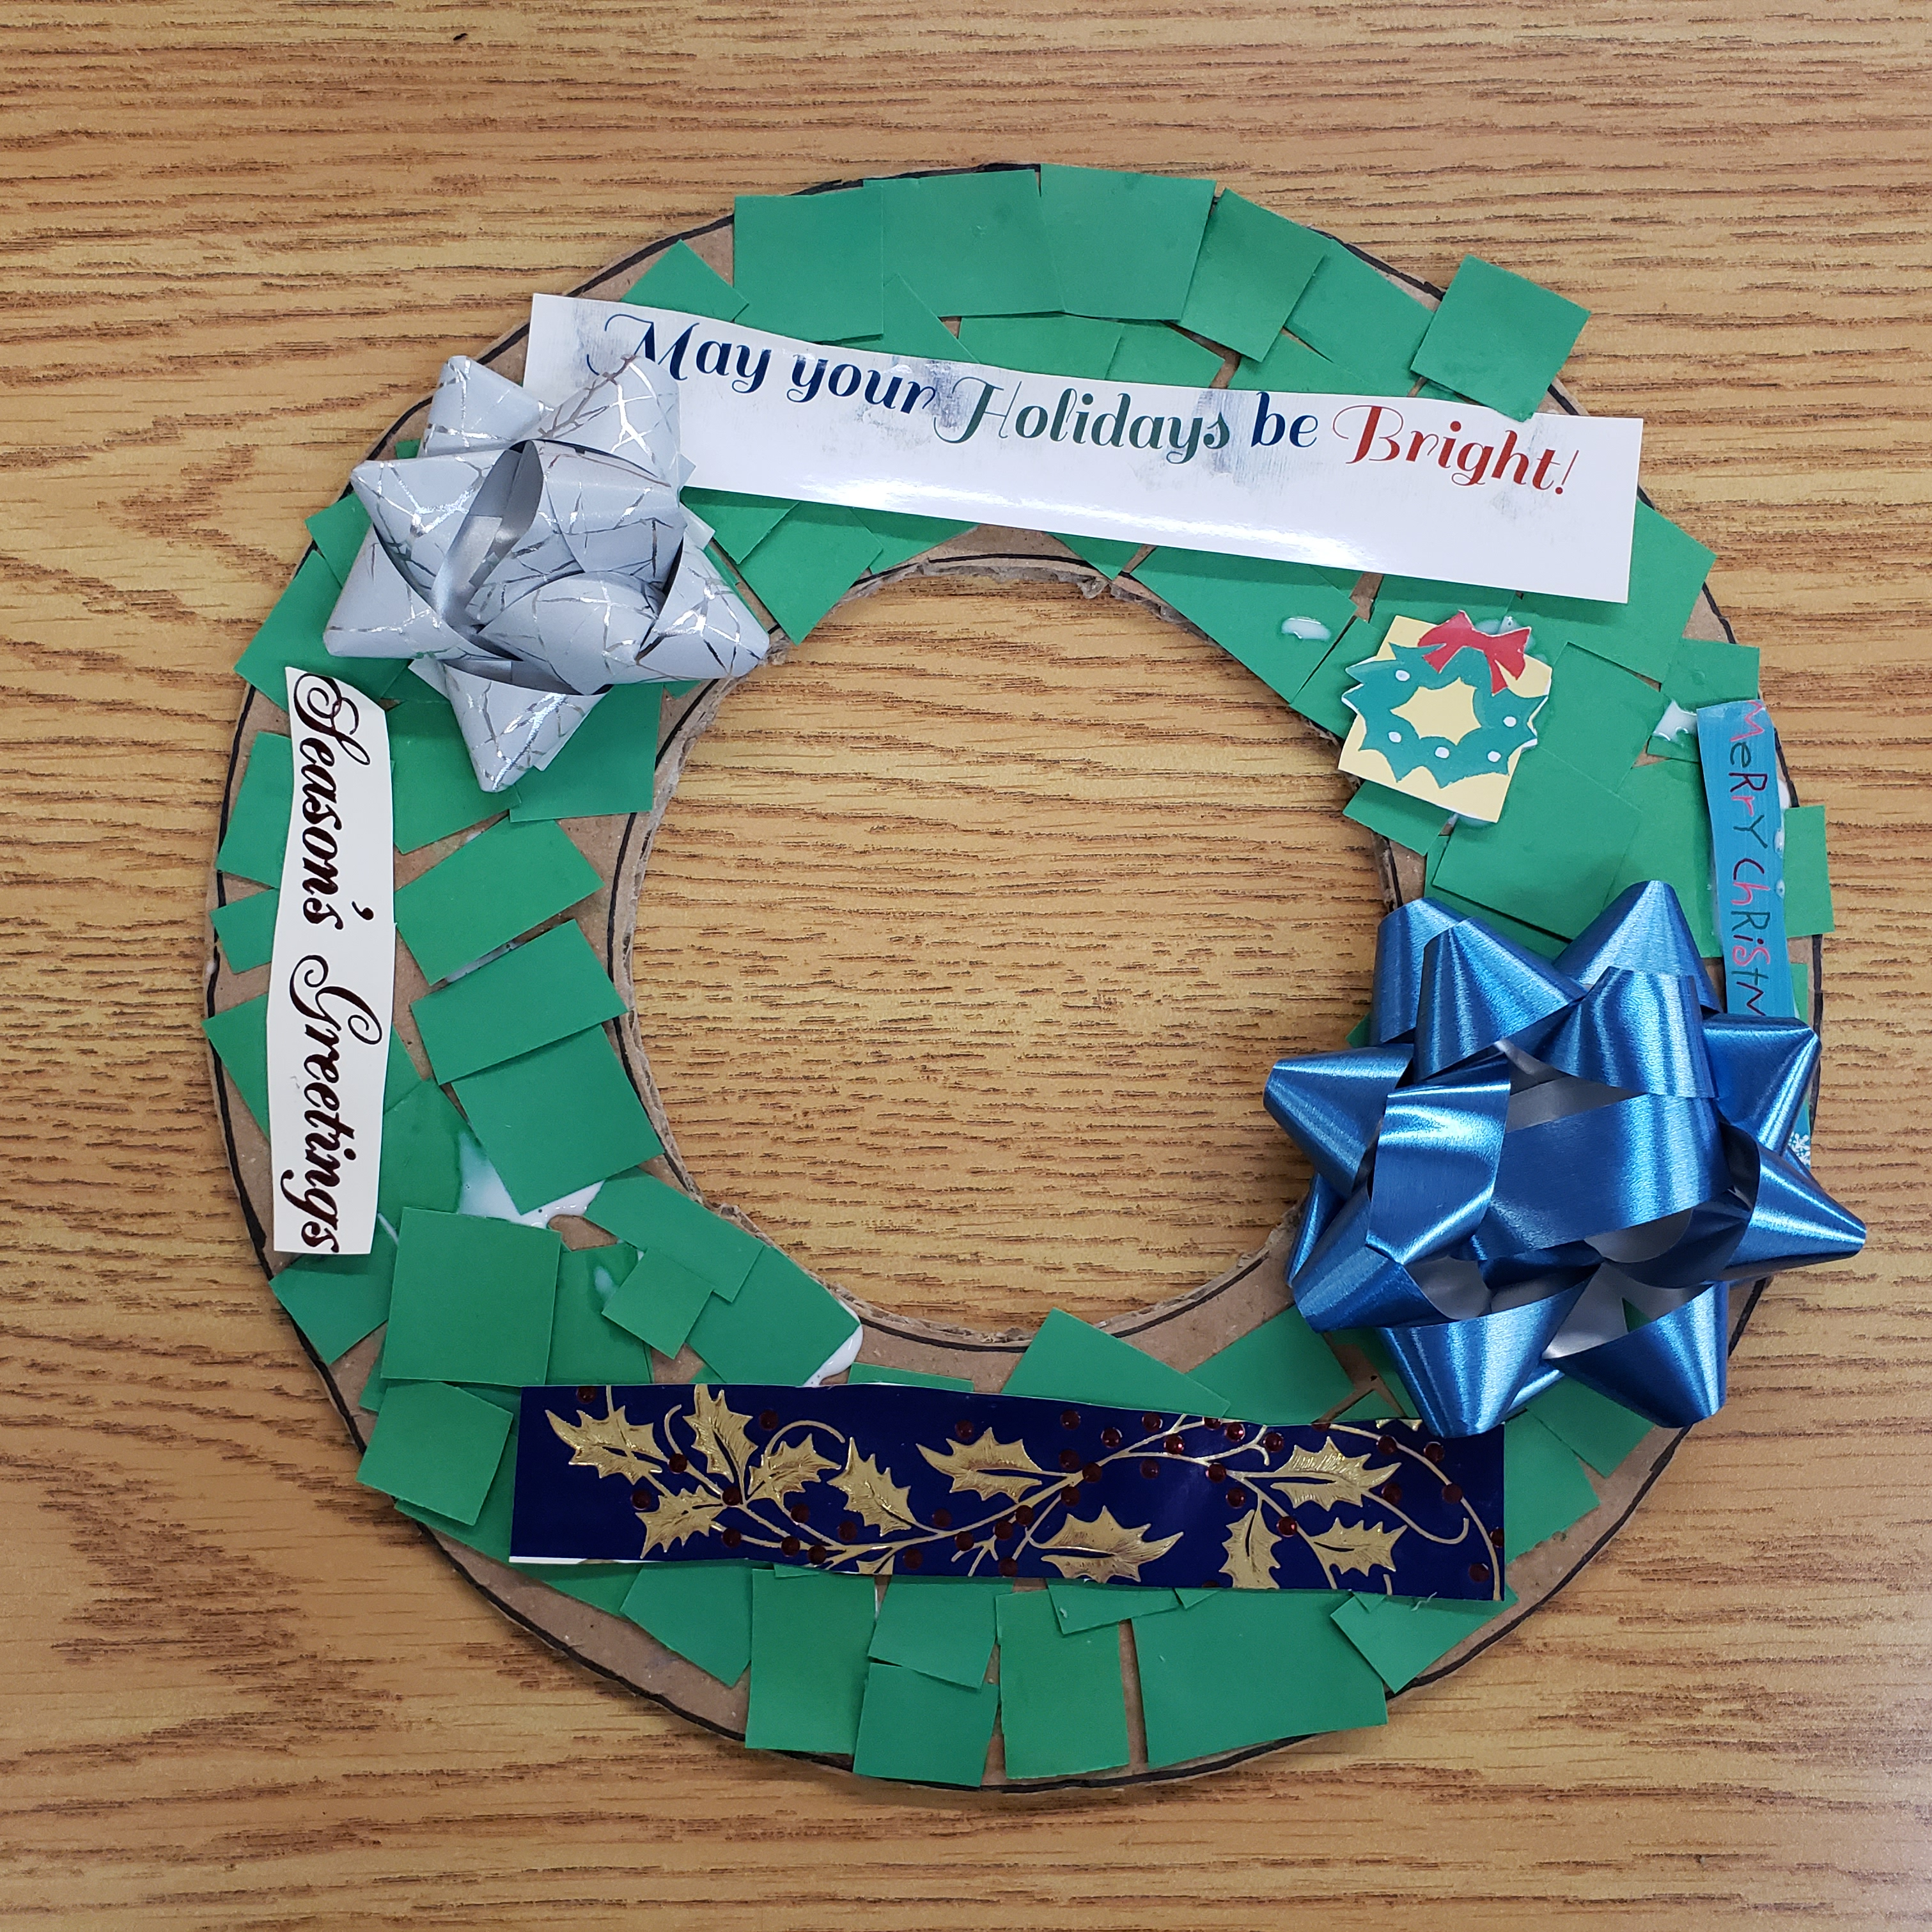
This was after a few more layers to cover up all the cardboard.
Note: If you are using paint, then instead of the paper squares just paint your carboard circle till its the shade of green you like. Let it dry before completing the next step.
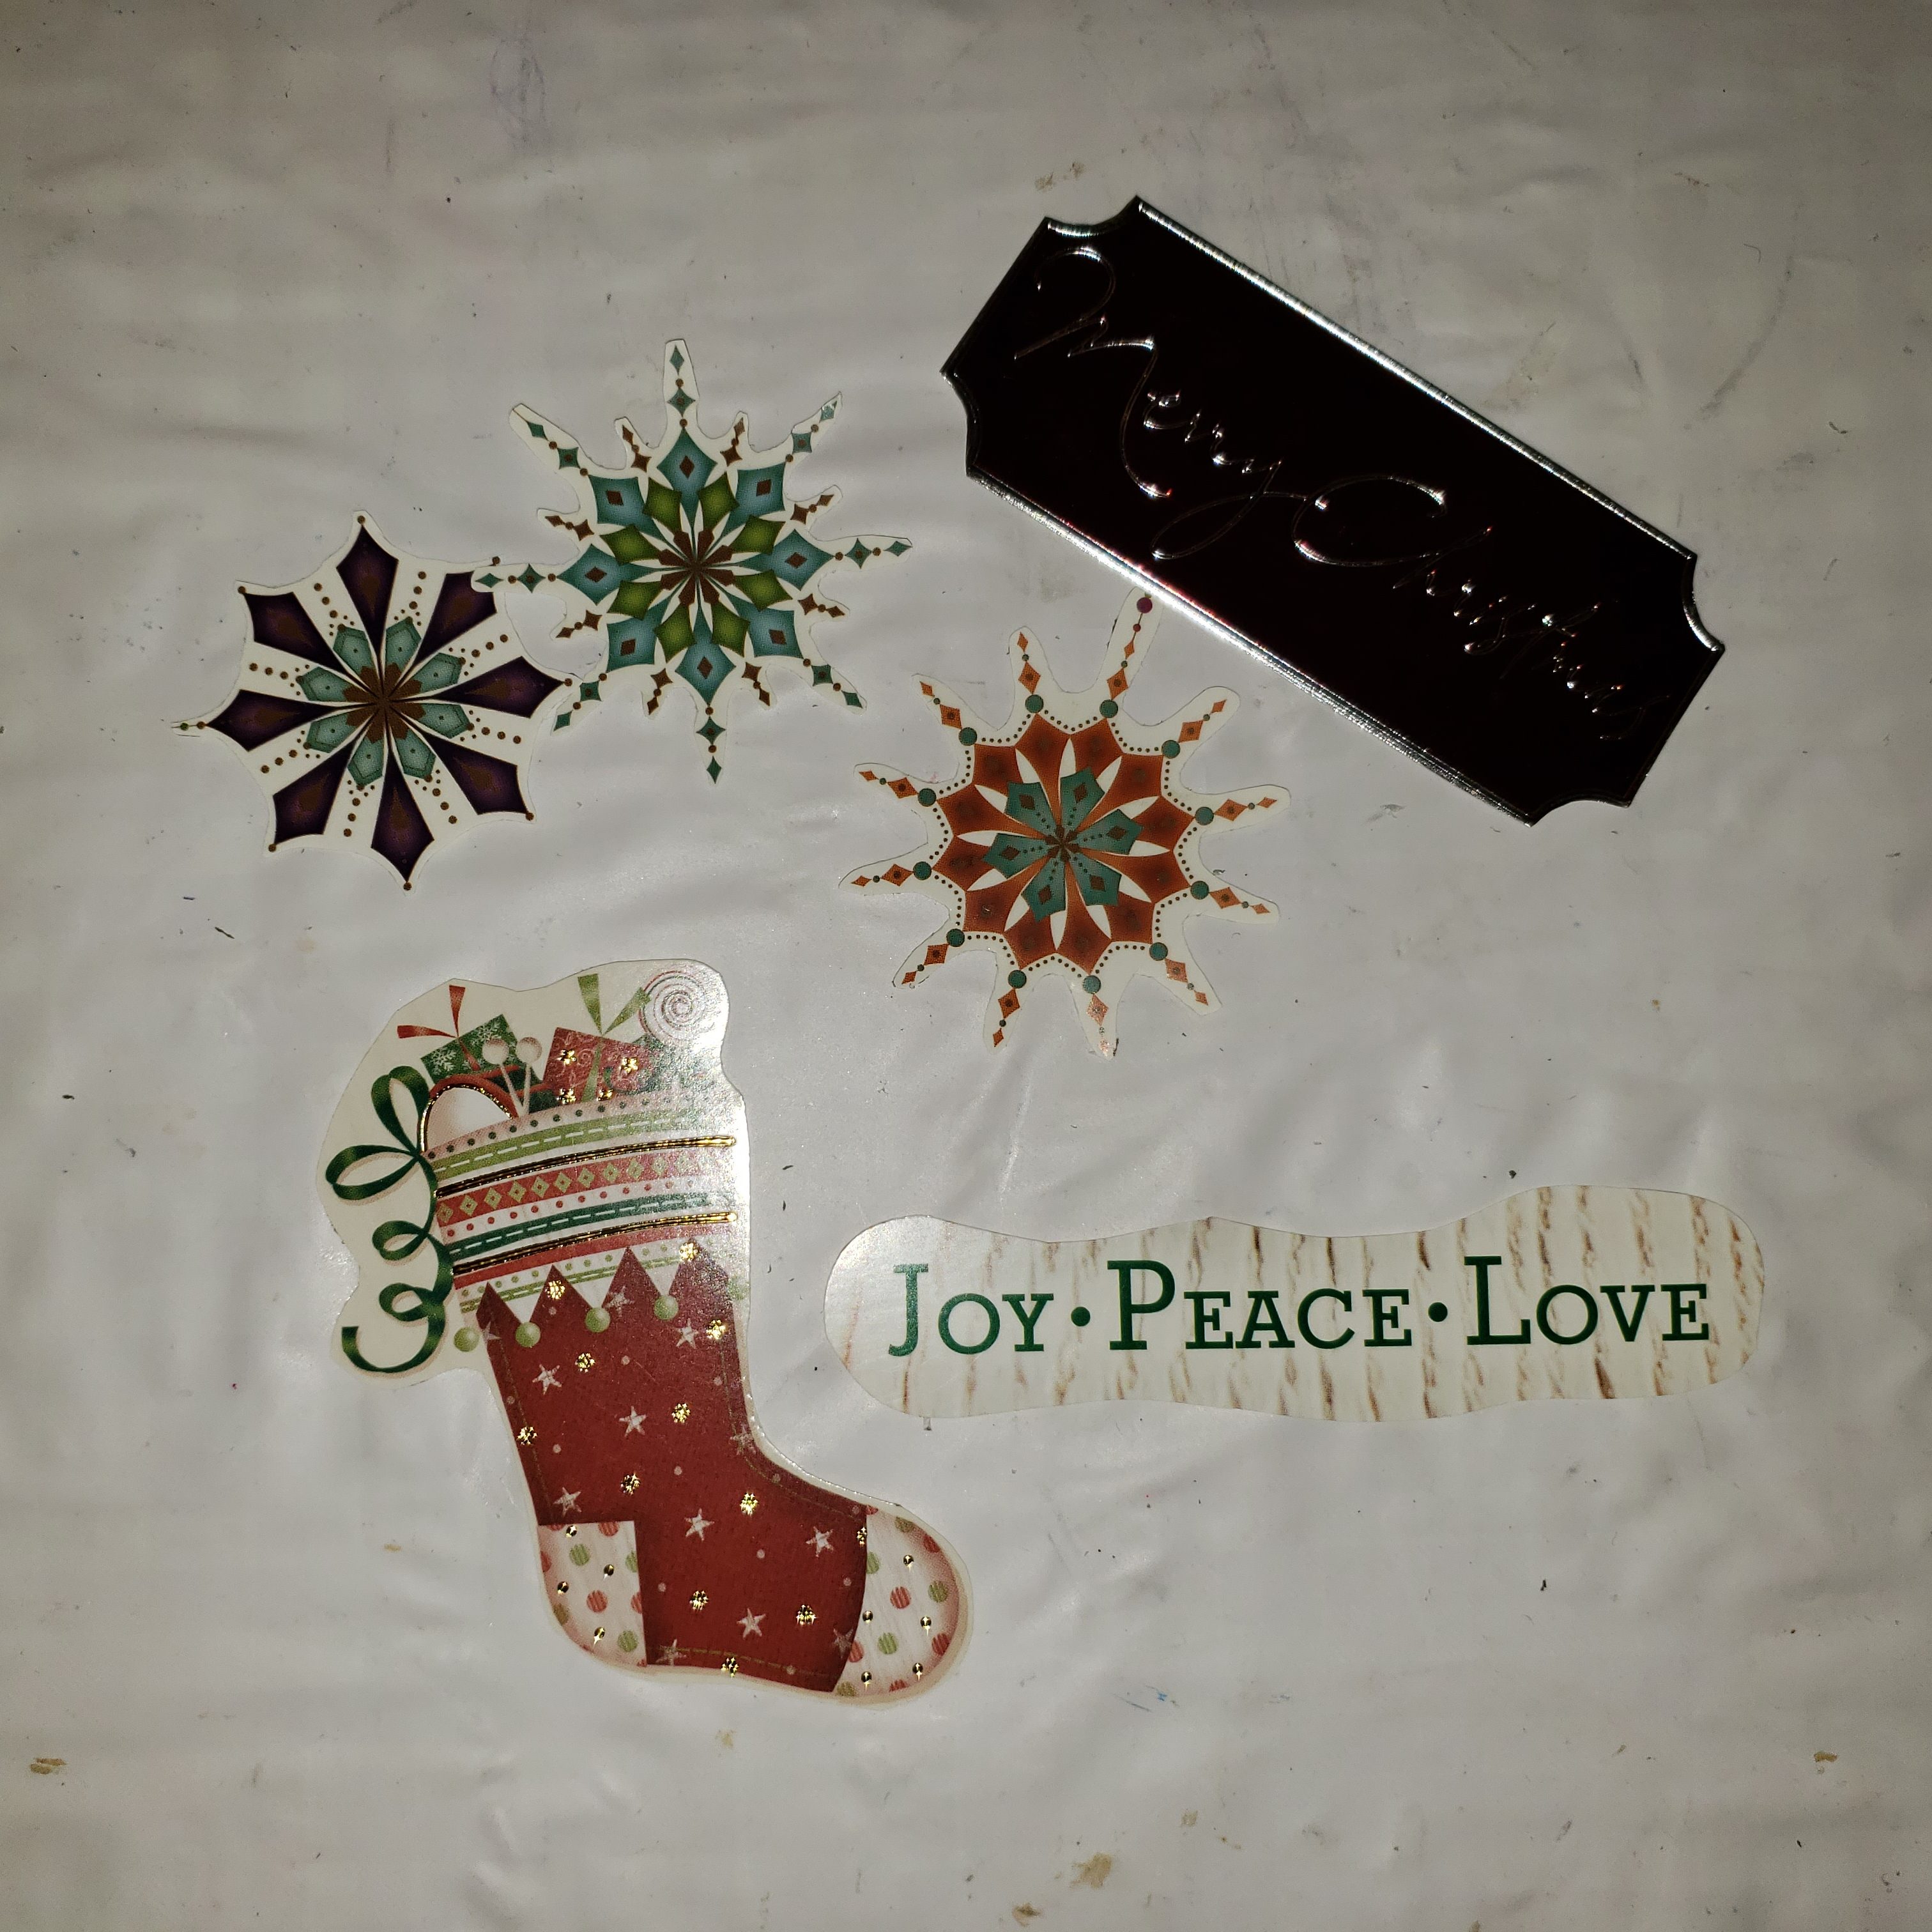
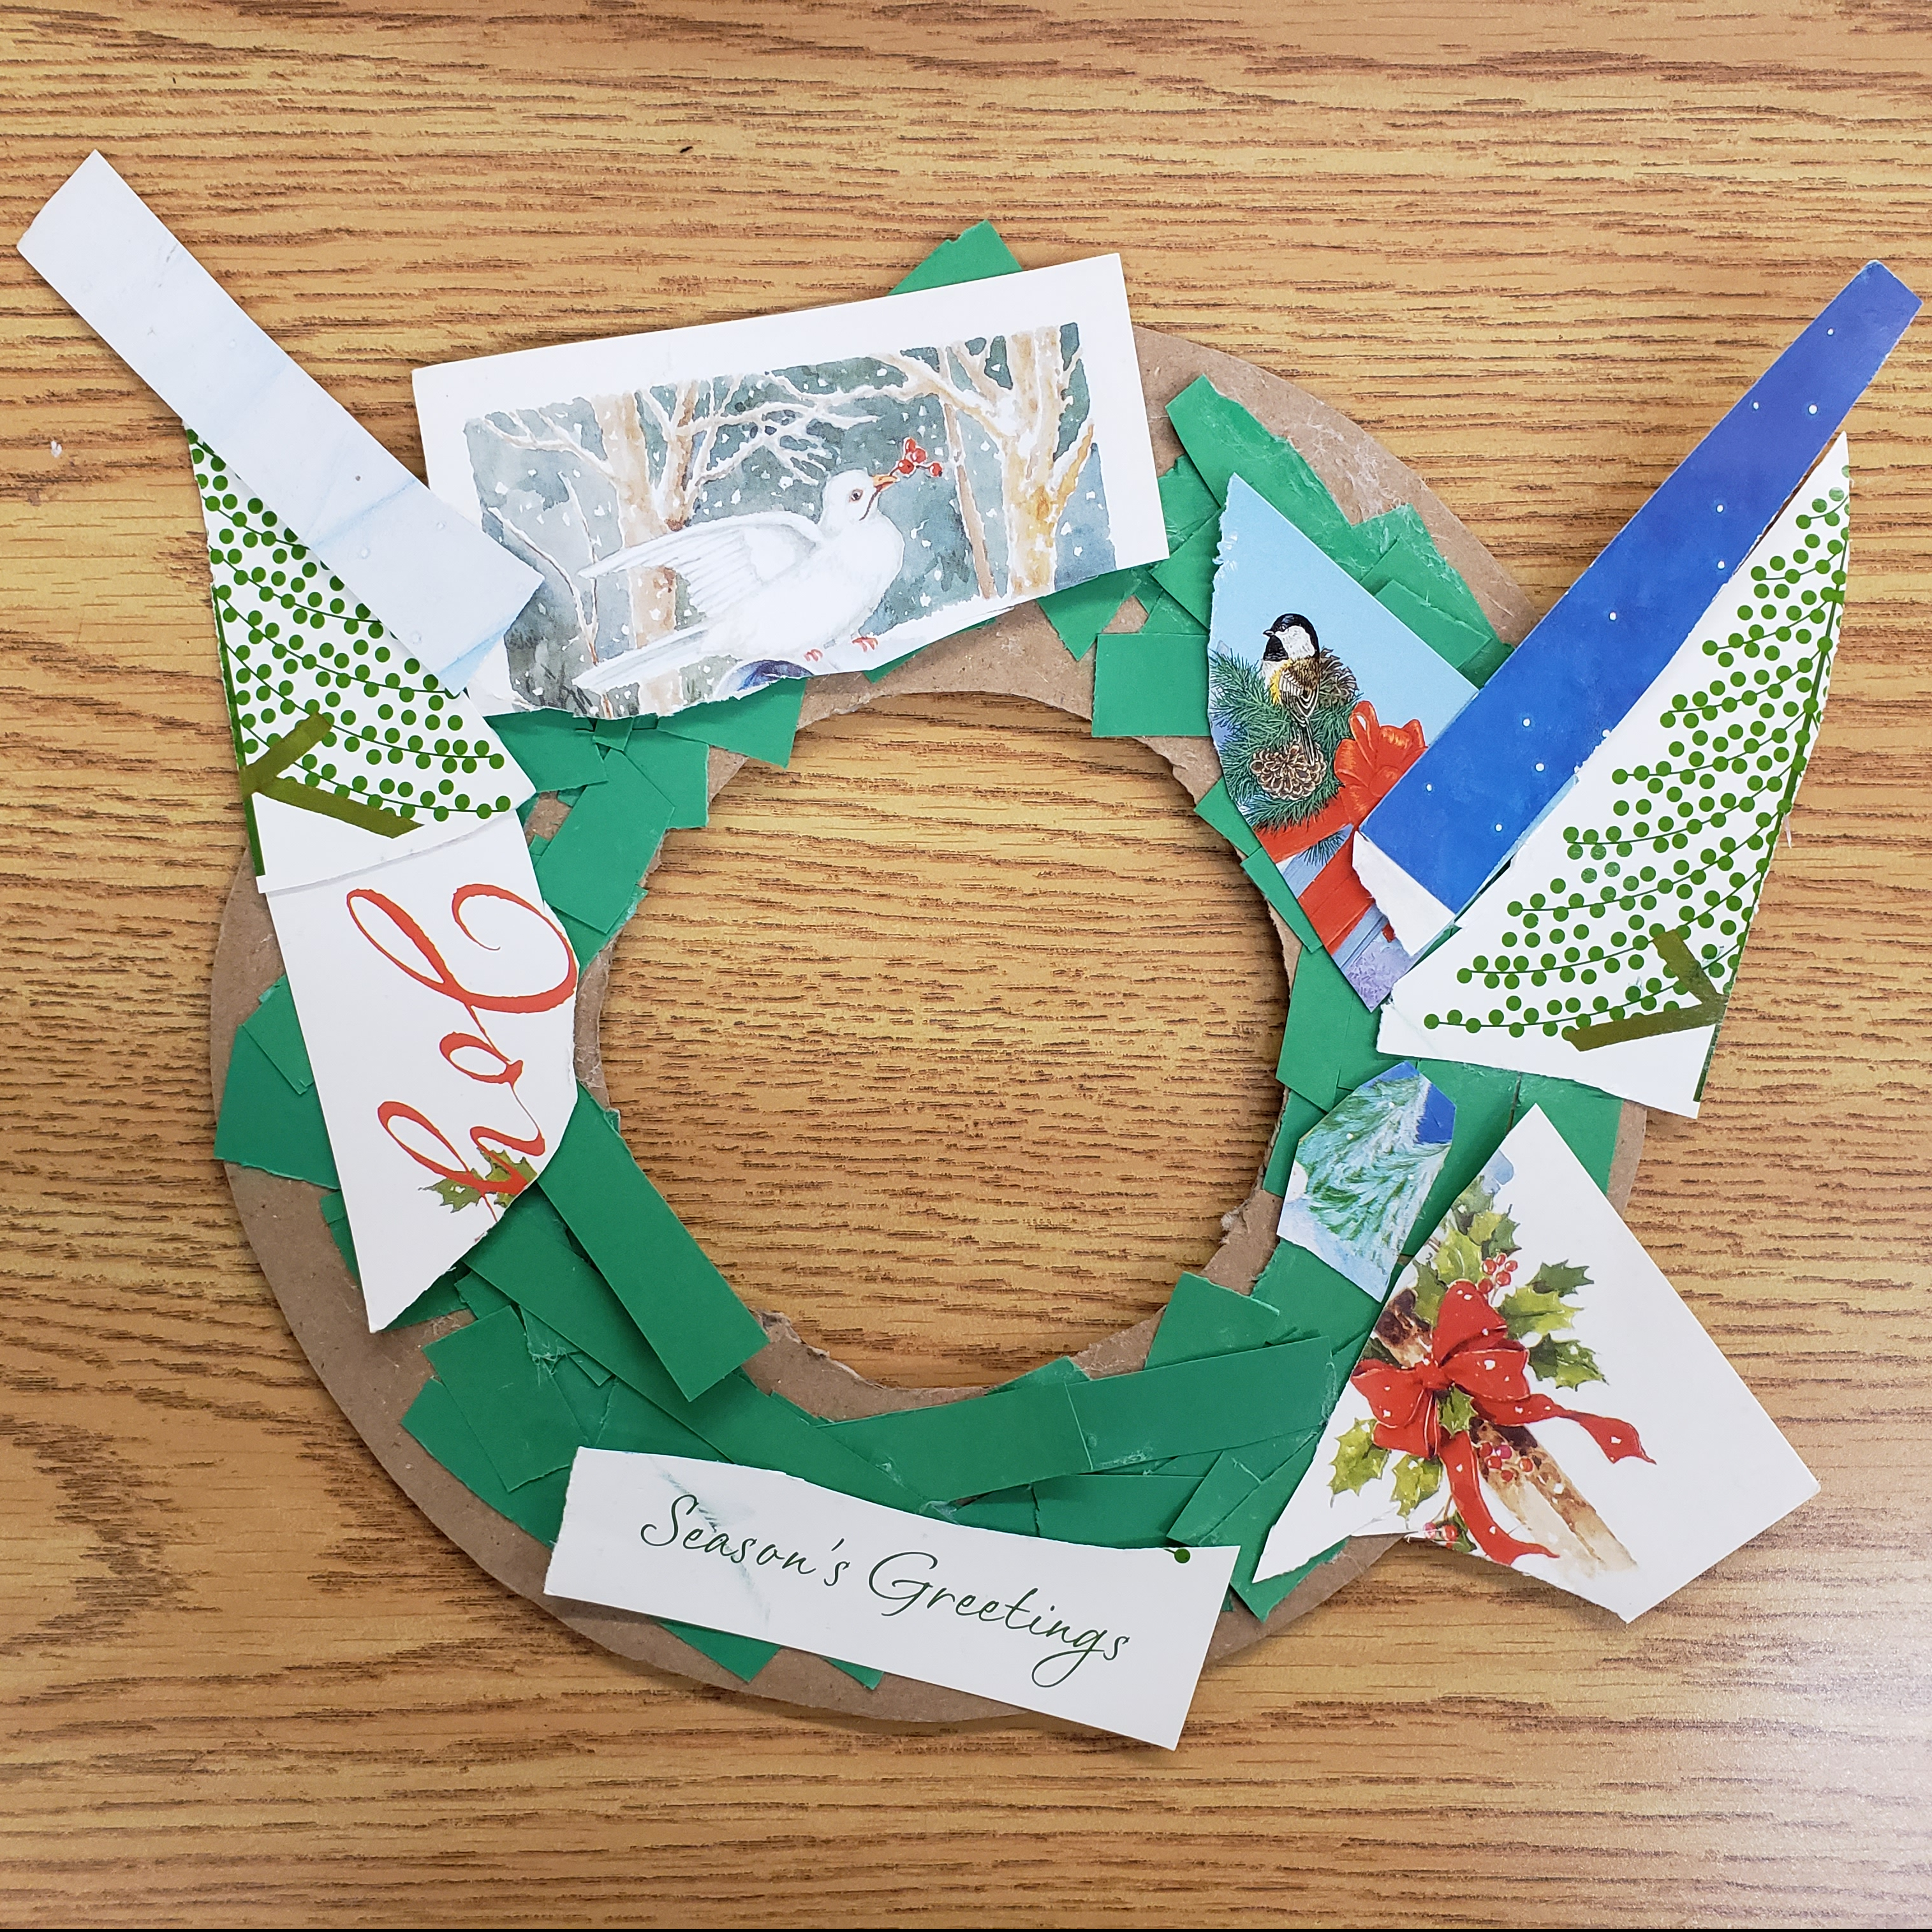
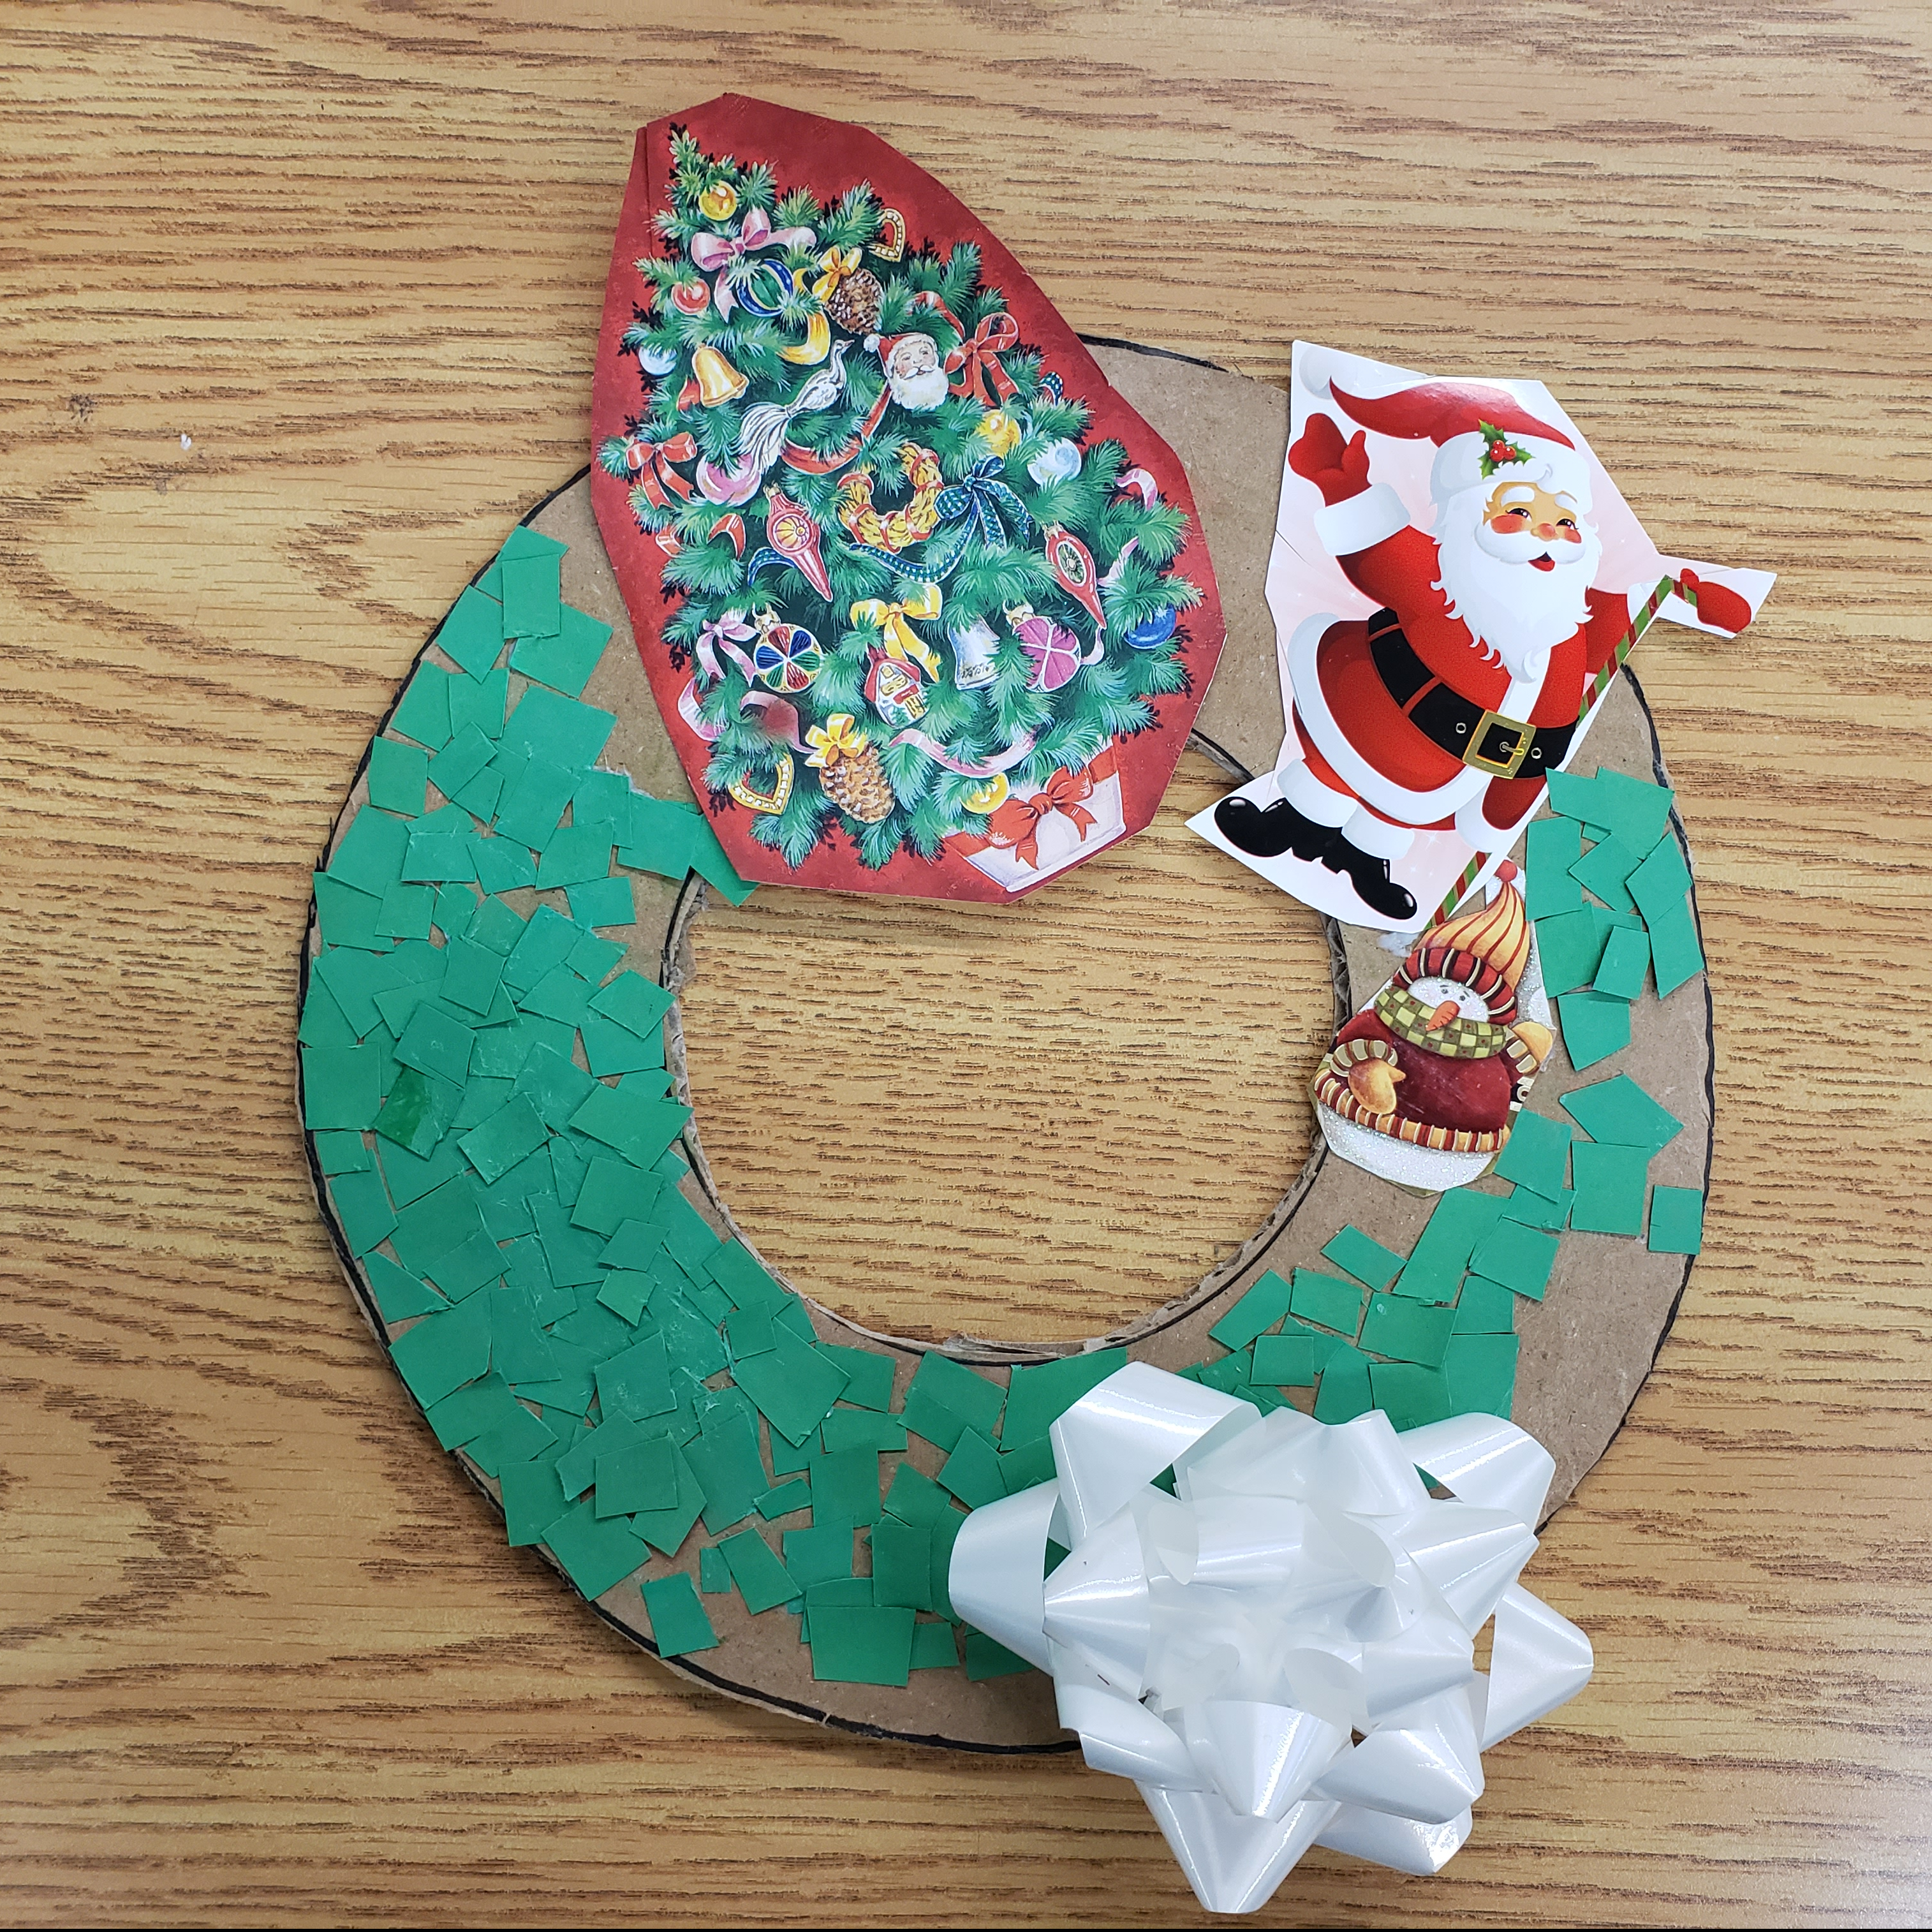
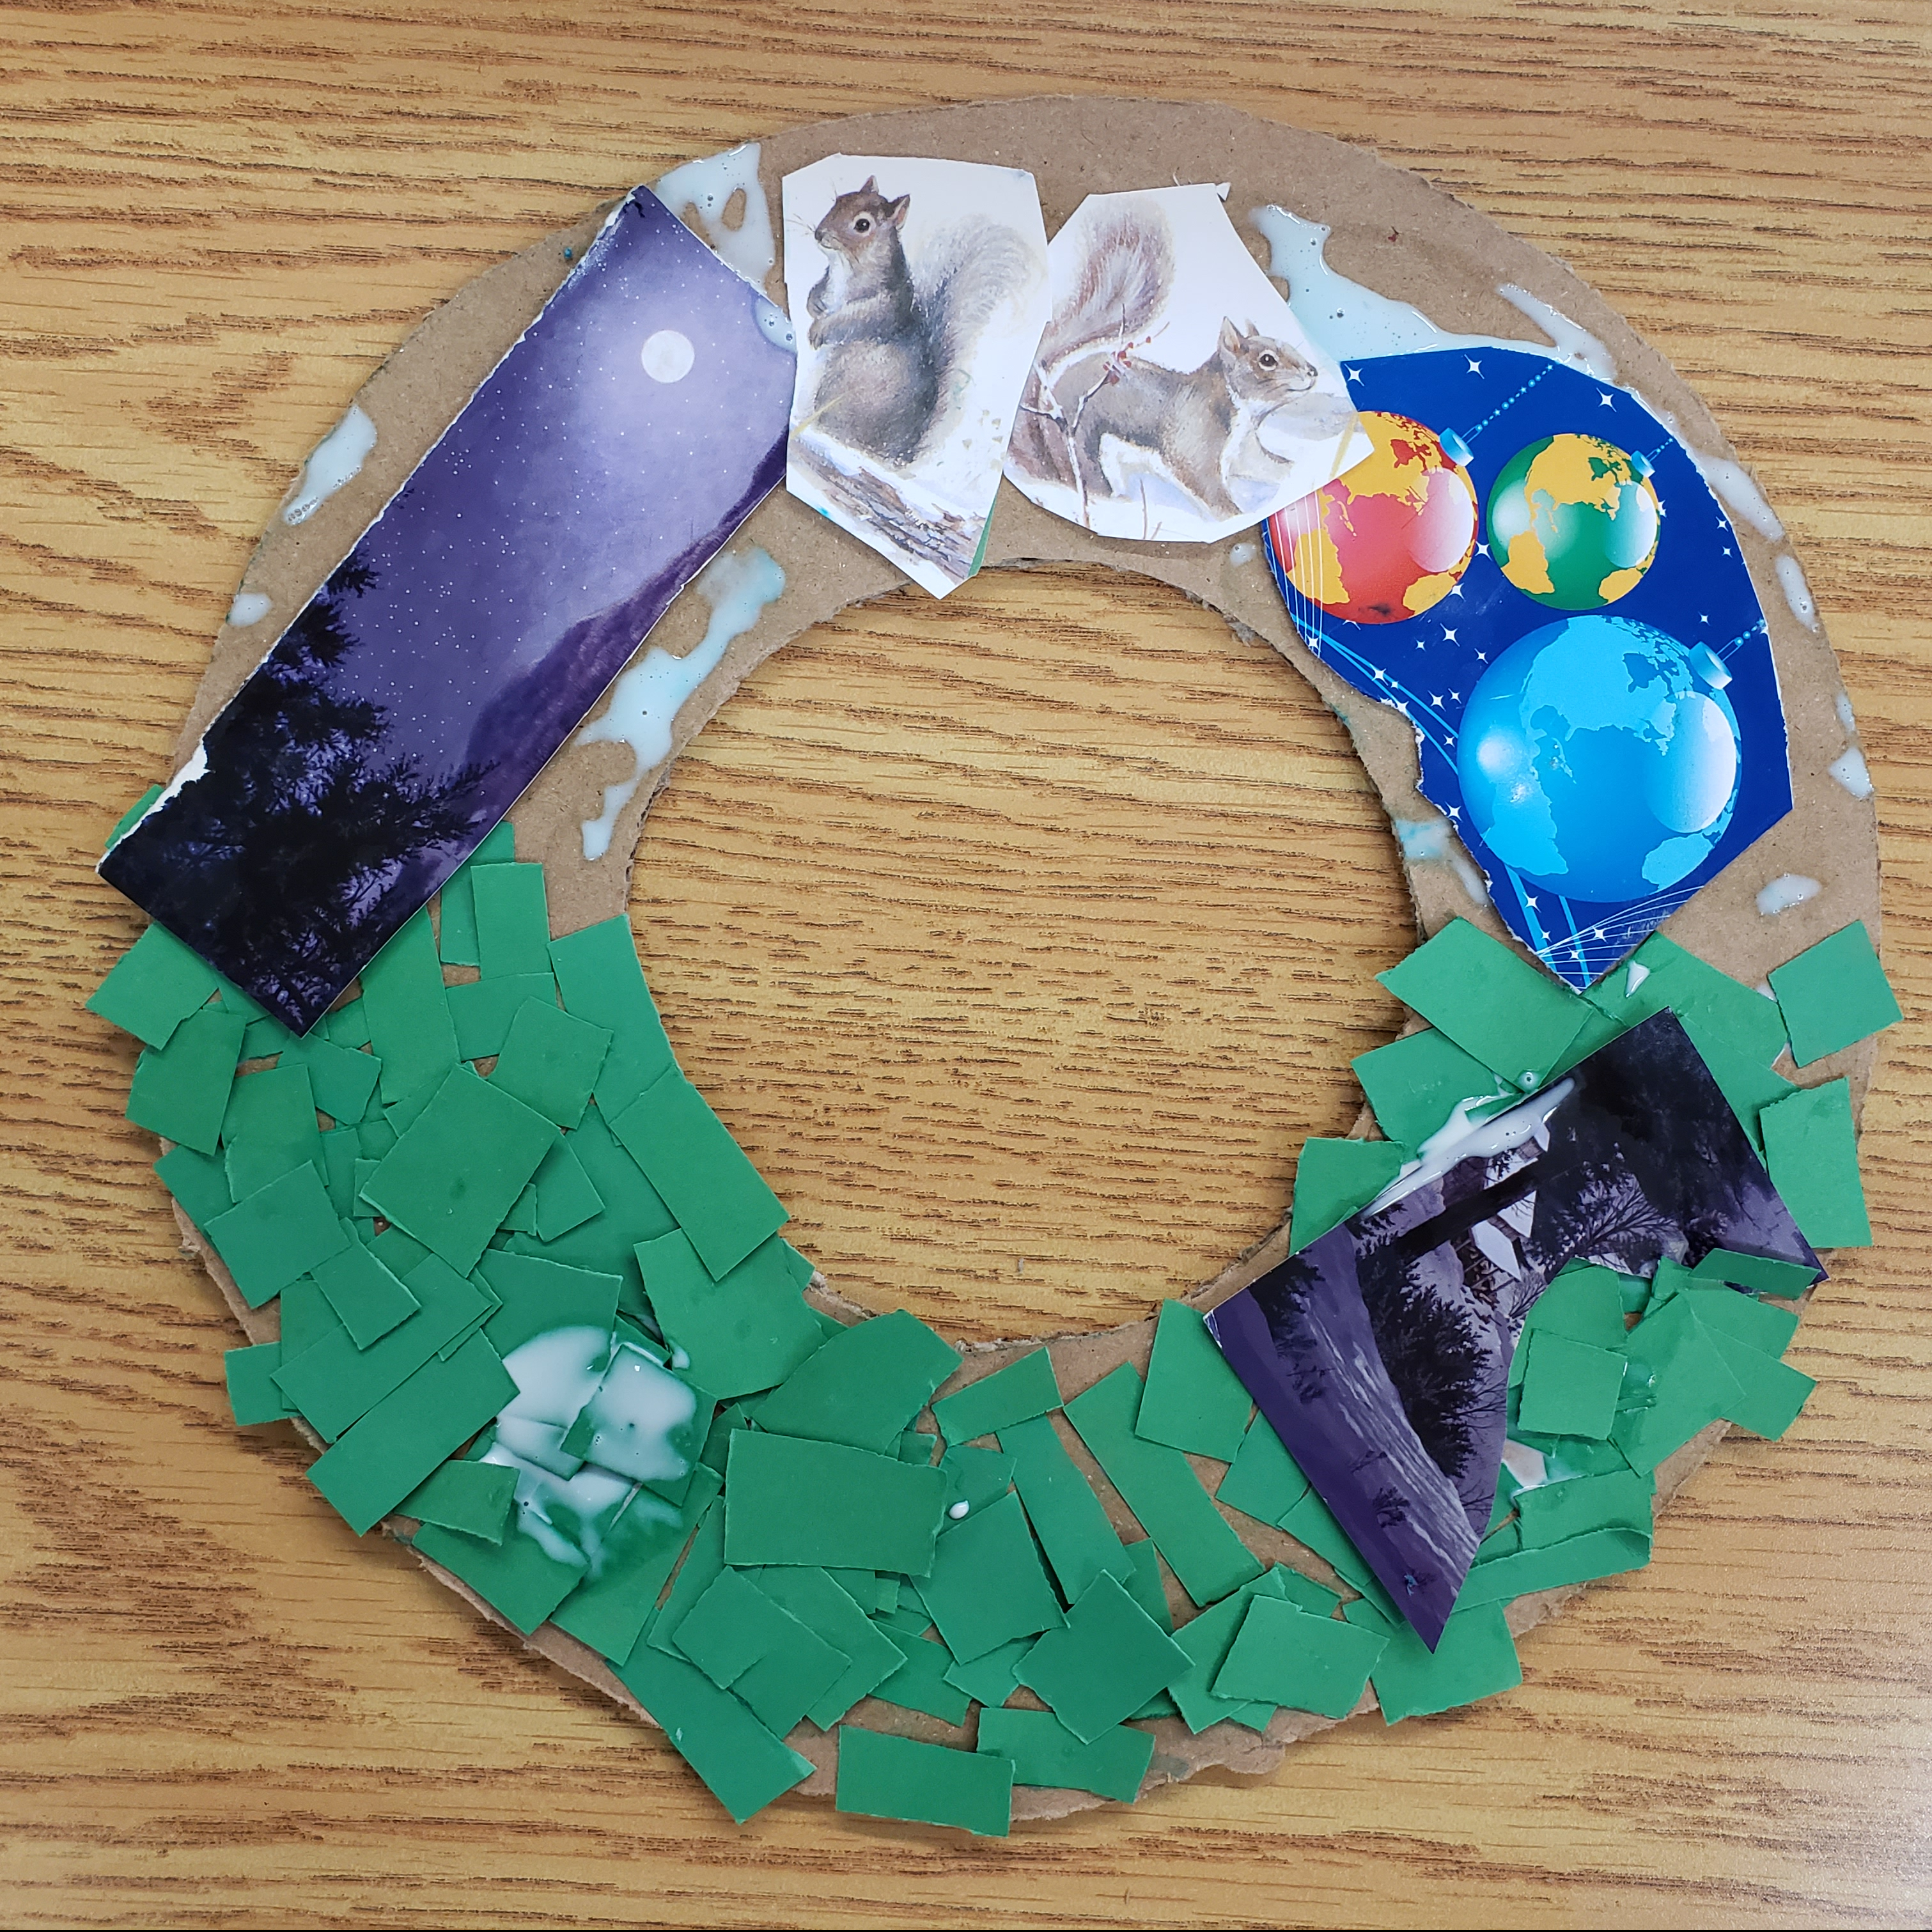
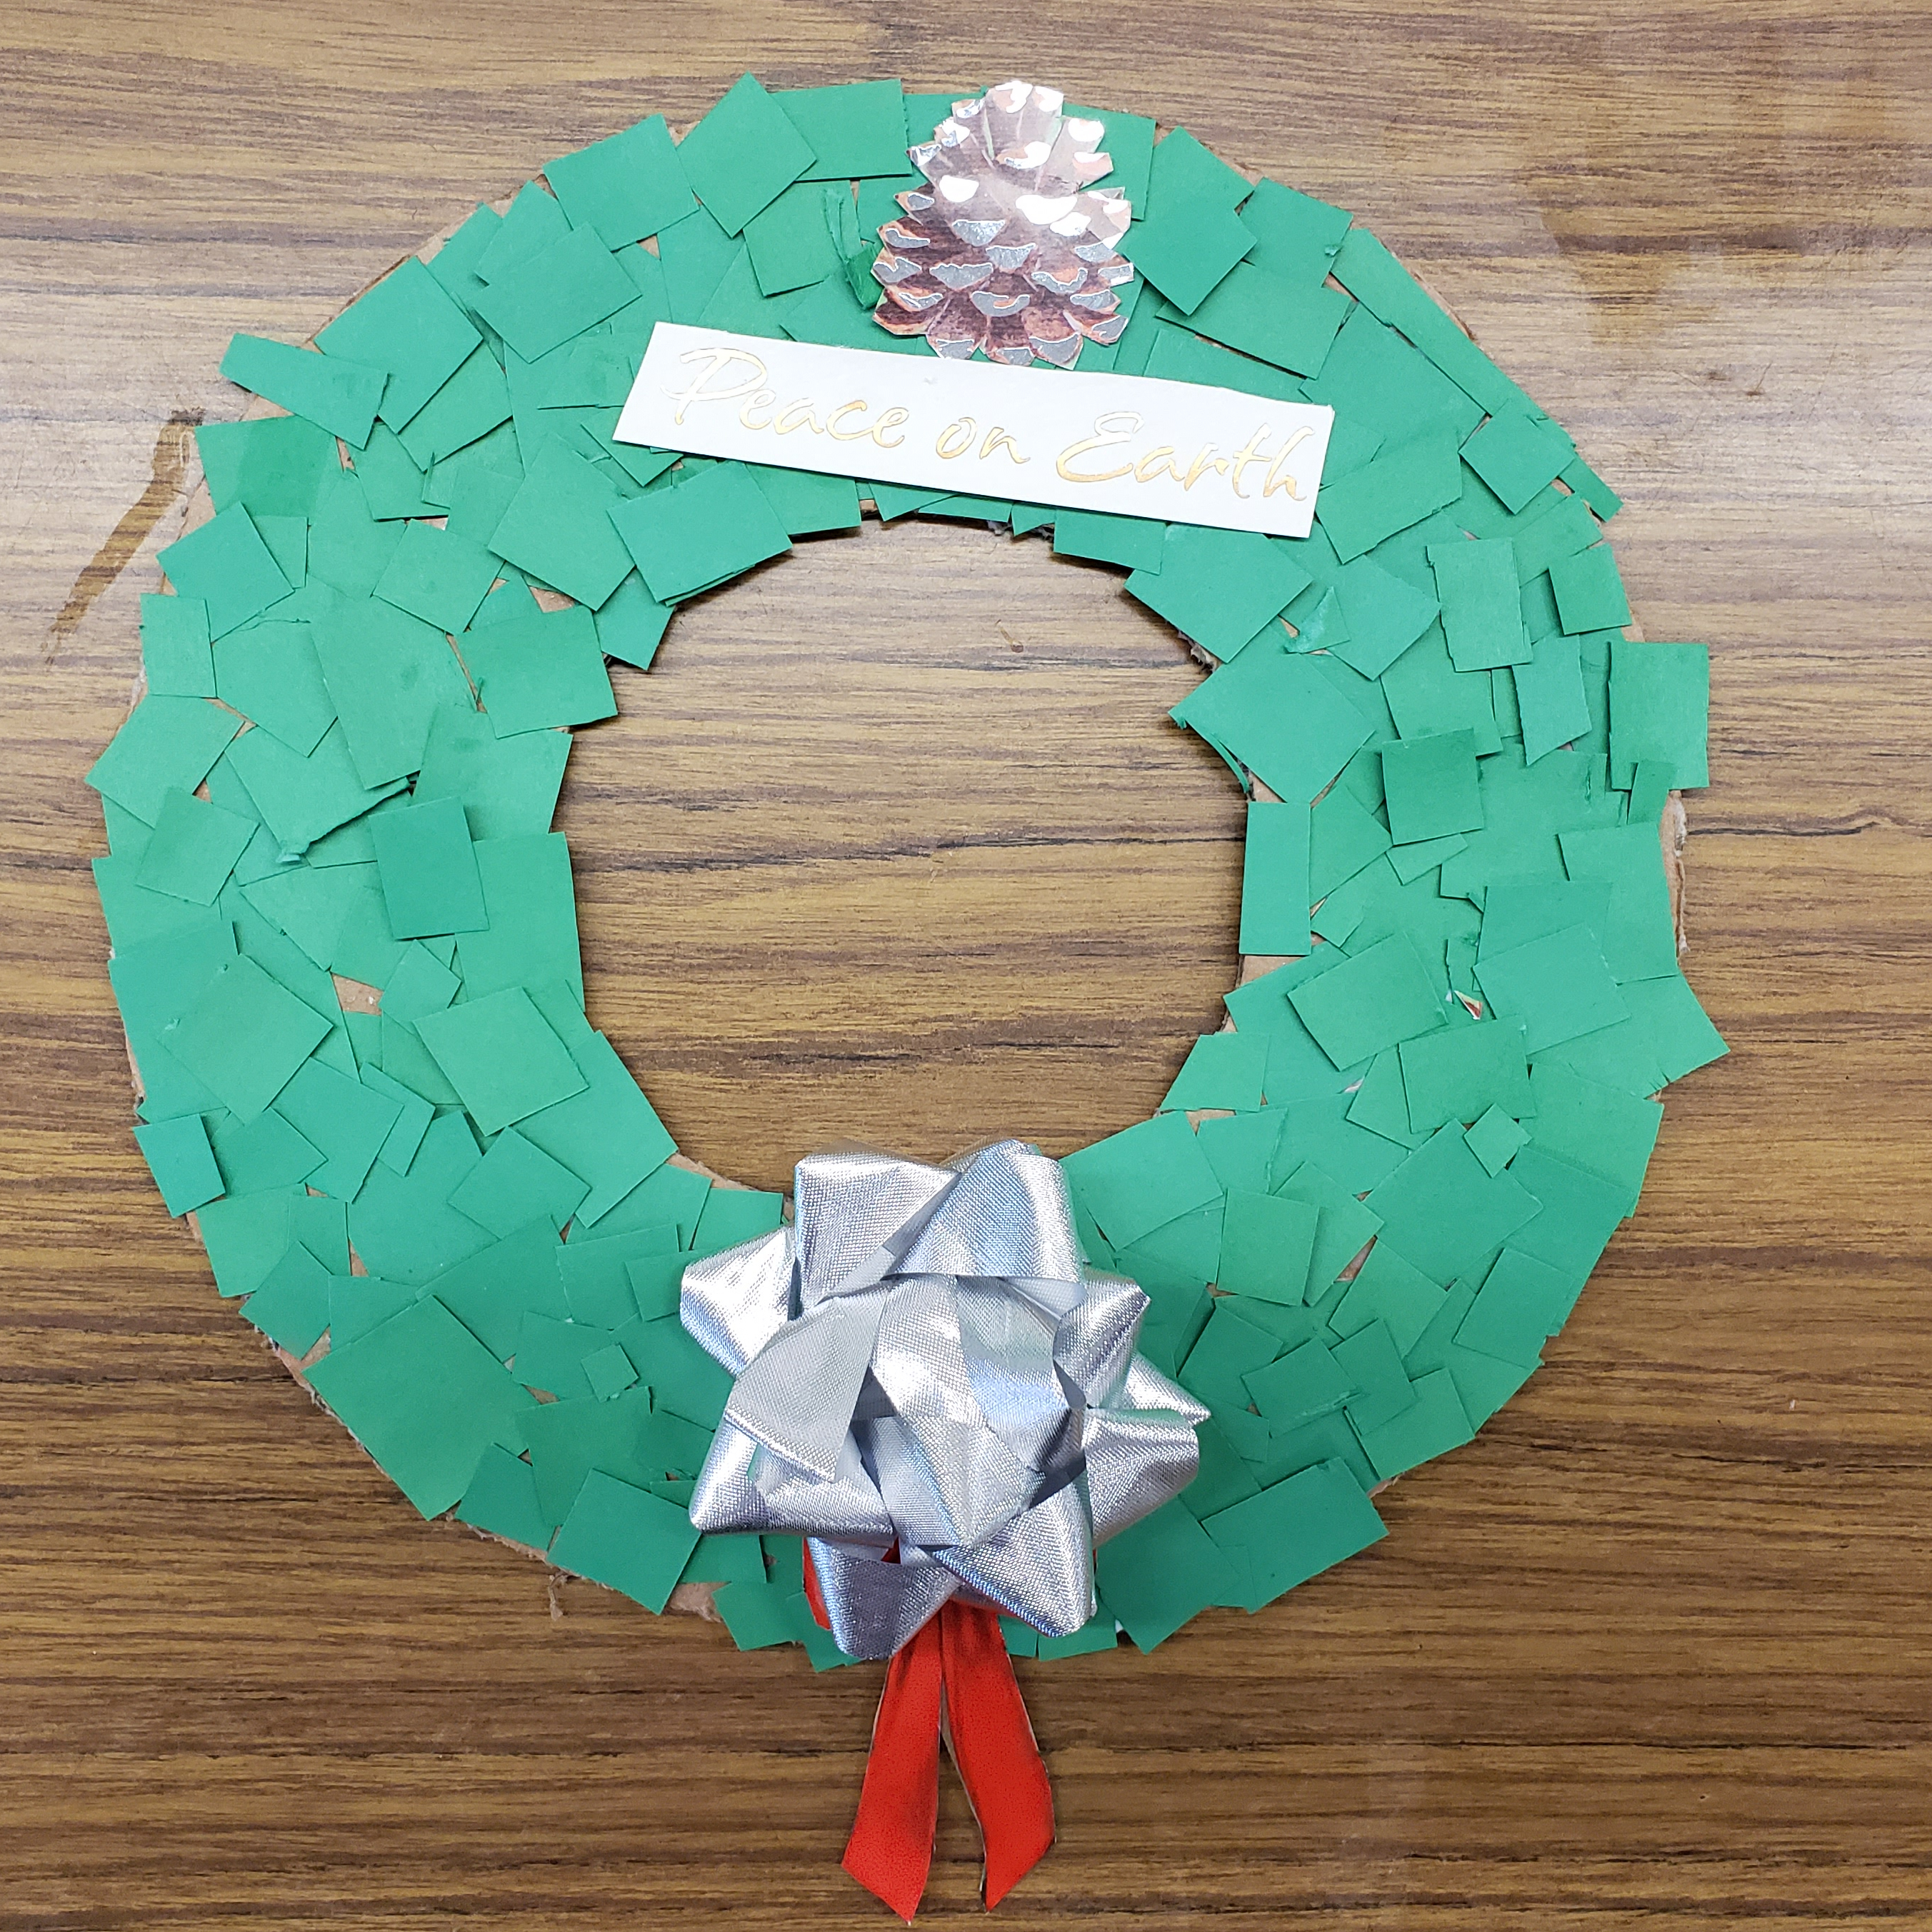
Why things are drying or setting, cut out shapes, like snowmen or Santas or phrases like “Merry Christmas” from your old Christmas Cards or wrapping paper. Printing specific shapes or graphics from the internet is also acceptable if you don’t have extra cards on hand, Christmas flyers work too.
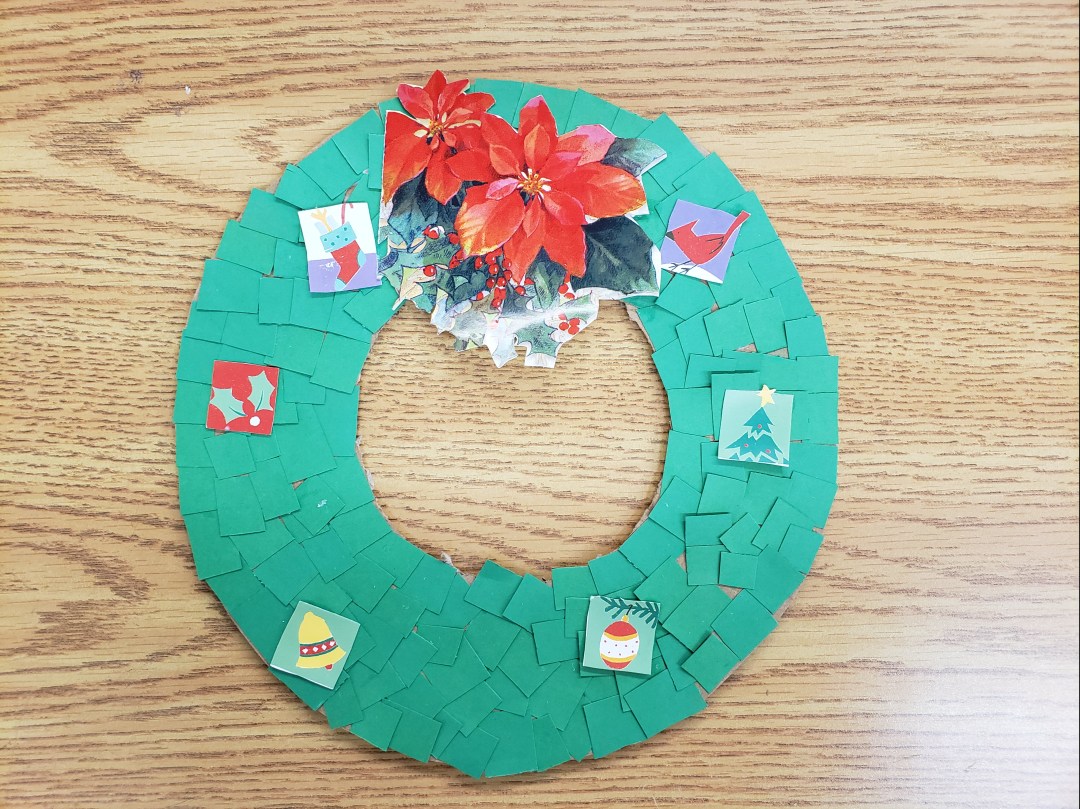
Glue them onto your wreath, attach the bow and hang up for all to see.

Check out some of the wreath made by our participants, as always our instructions are just guidelines and people are free to create how they want to. to create the art that best represents their vision.
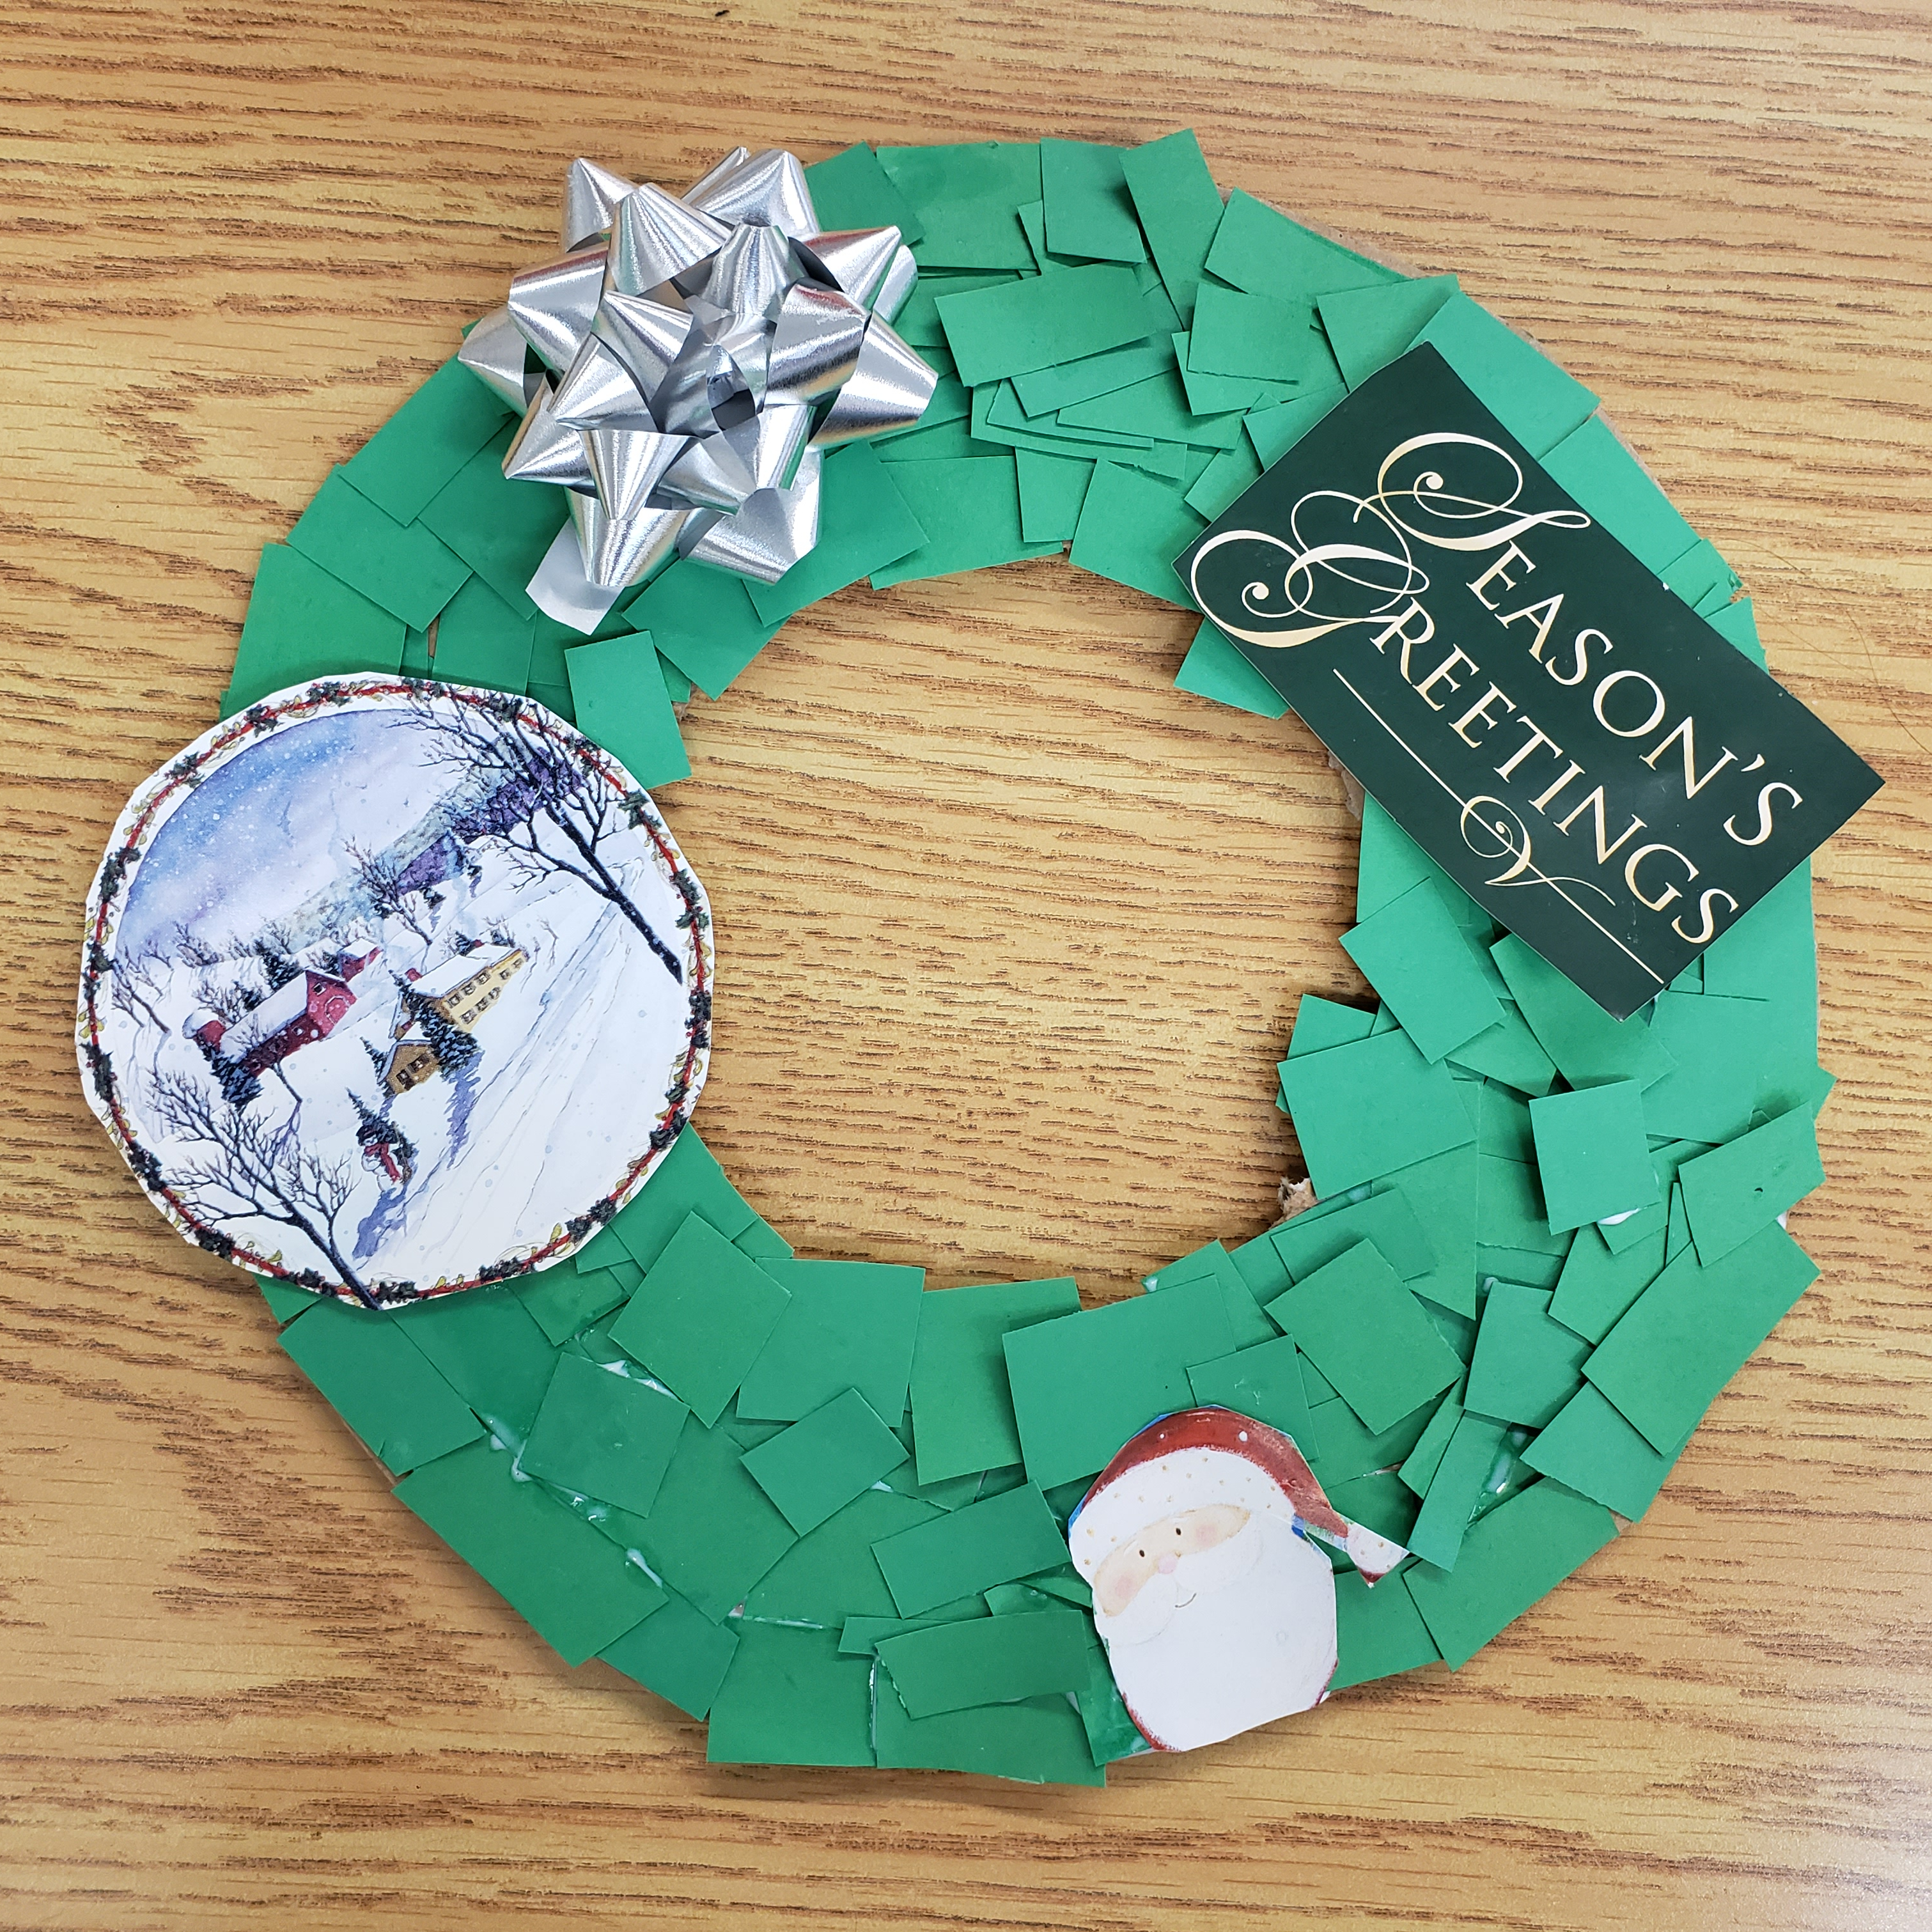
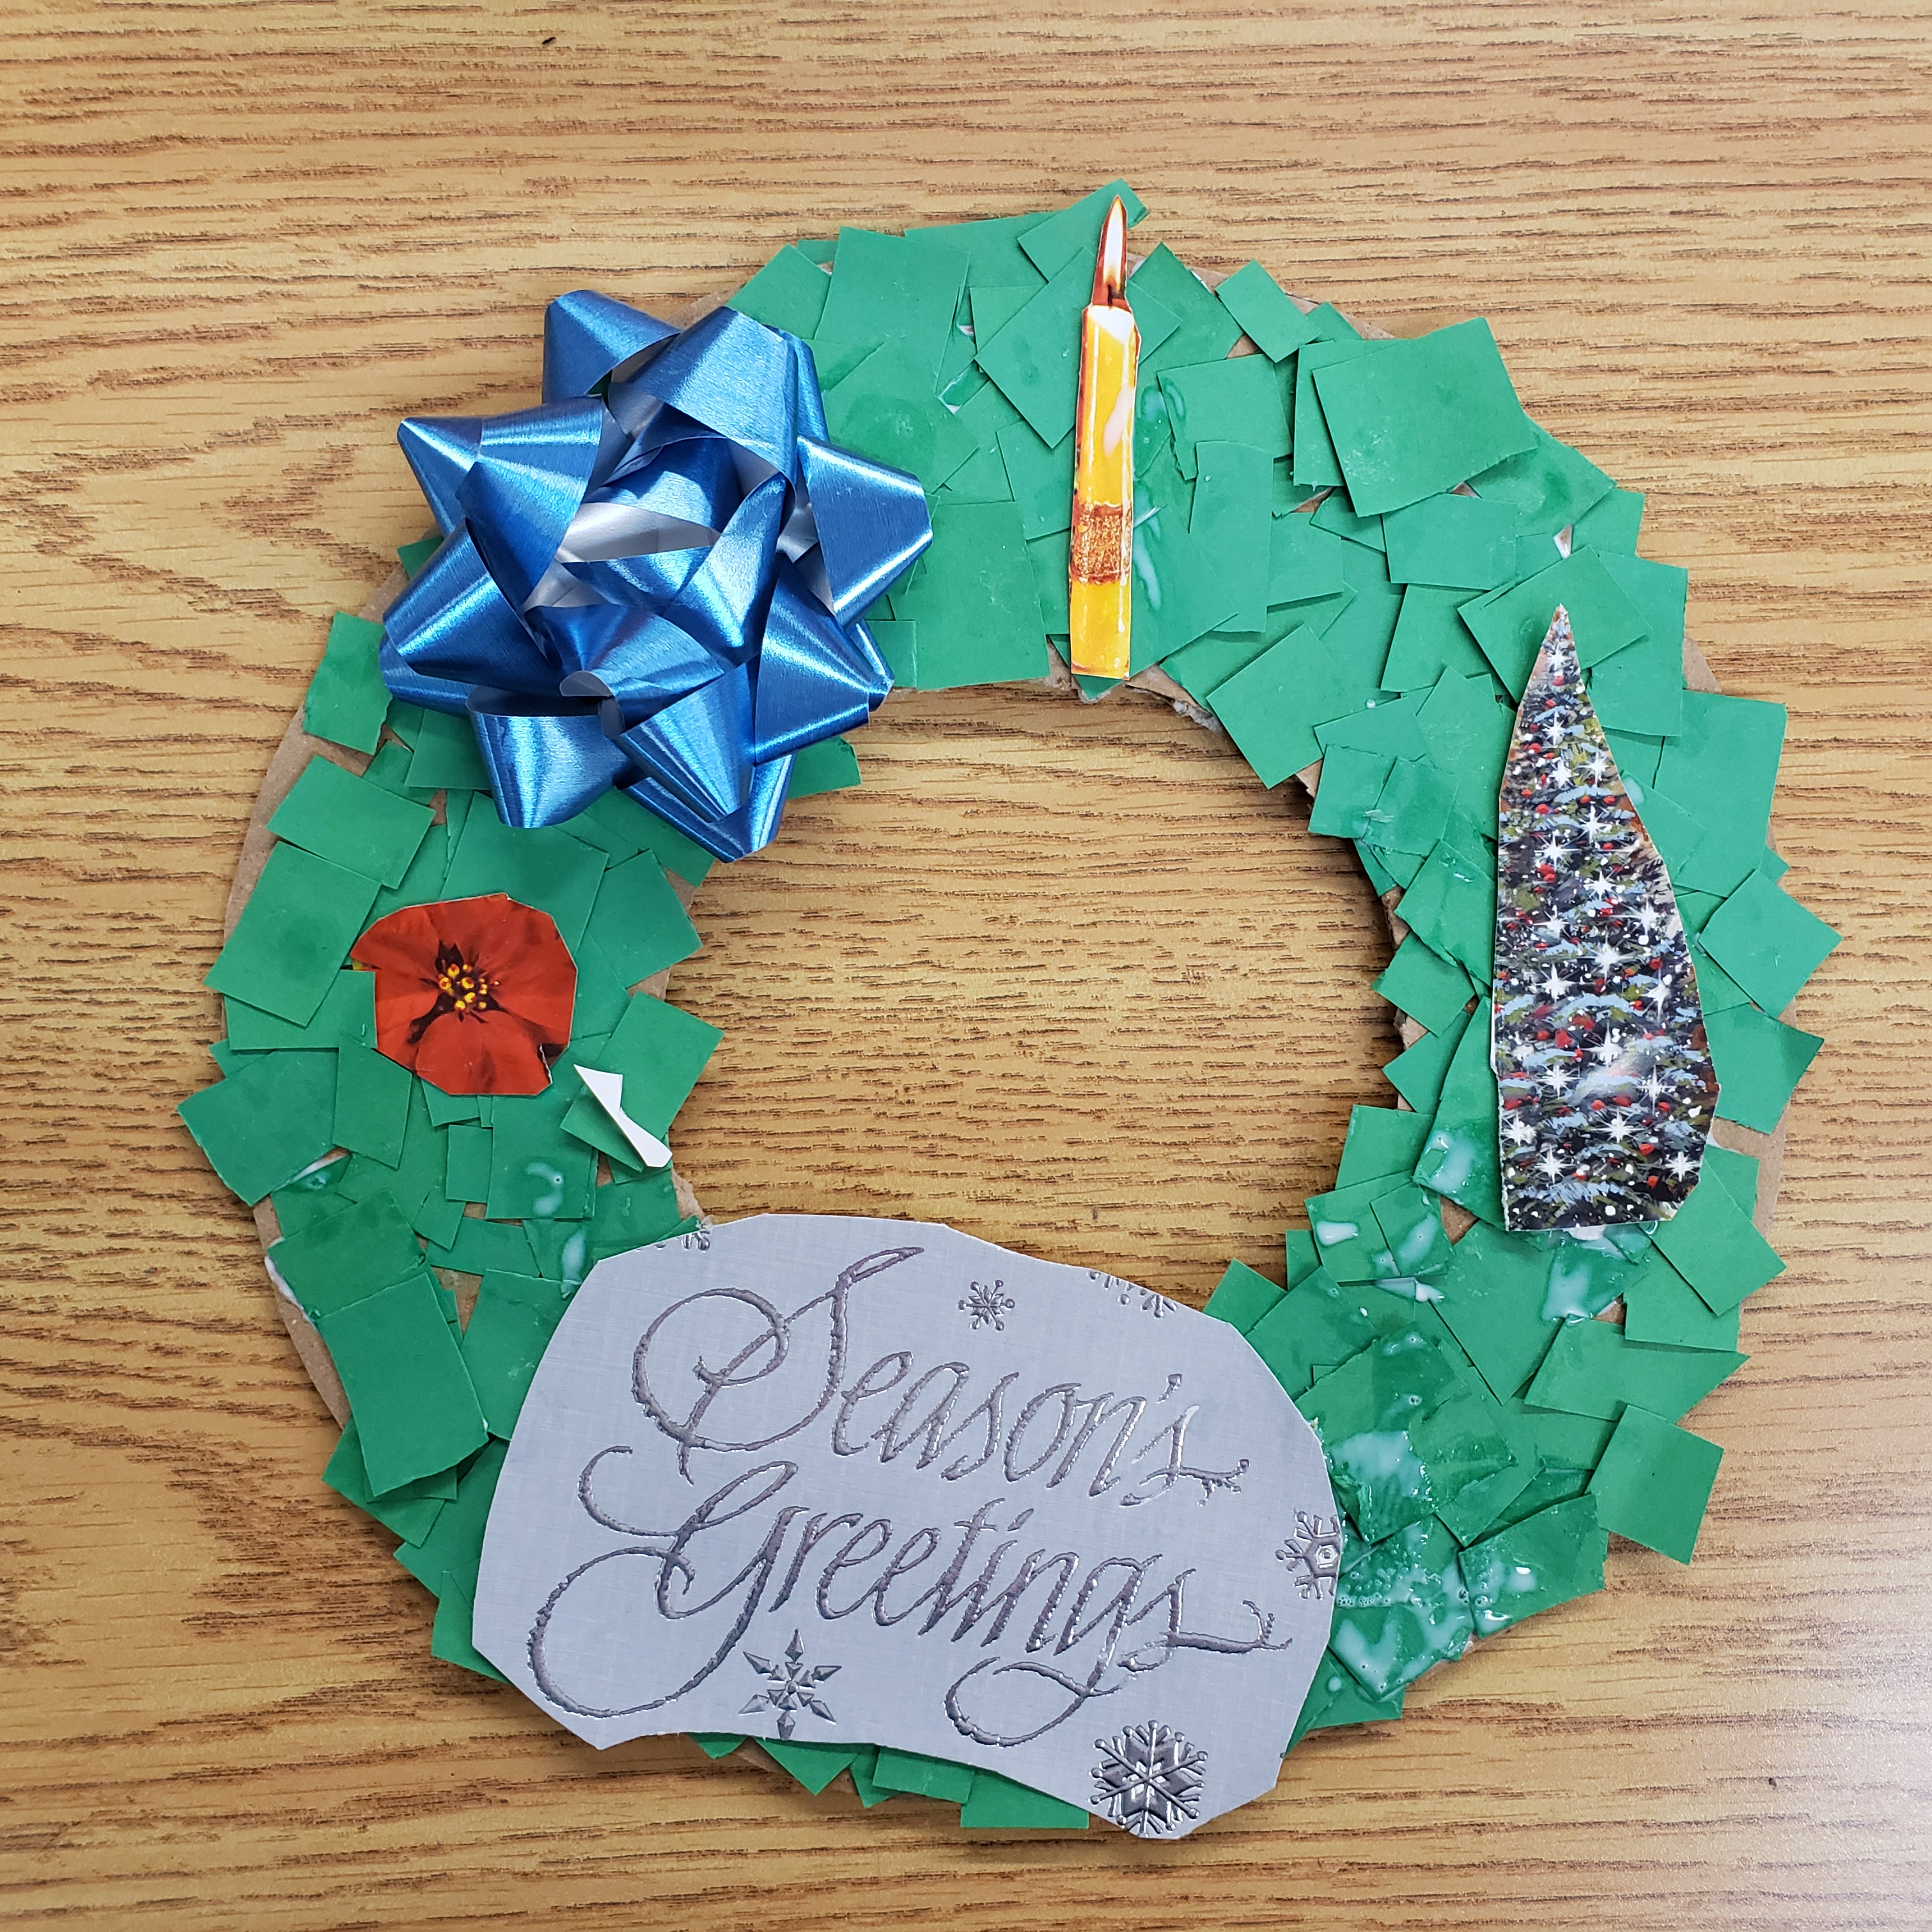


We want to see all of your Wonderful Creations!
Don’t forget to take a picture of your Craft and tag us on Instagram @kreativekidswpg
Looking for other Holiday Activities, check out these past posts How This Angel Got It’s Wings, Santa Countdown, and 12 Days of Holiday Crafting.
